How To: install the Touring windscreen for the Zero SR/S
If you have used your Zero SR/S for any sort of real touring use, like riding at freeway speeds in anything other than a full tuck, you have surely noticed that the wind protection is, well, lacking somewhat.


Pry the rear ends of the nosepiece out of their moorings and then simply slide the nose off the bike.

Now, remove the four torx screws holding the existing windscreen in place. Save these screws - you still need them.
Here is a size comparison of the old and new windscreens.


Use the four torx screws you just removed from the old windscreen to bolt on the mounting hardware for the new windscreen.
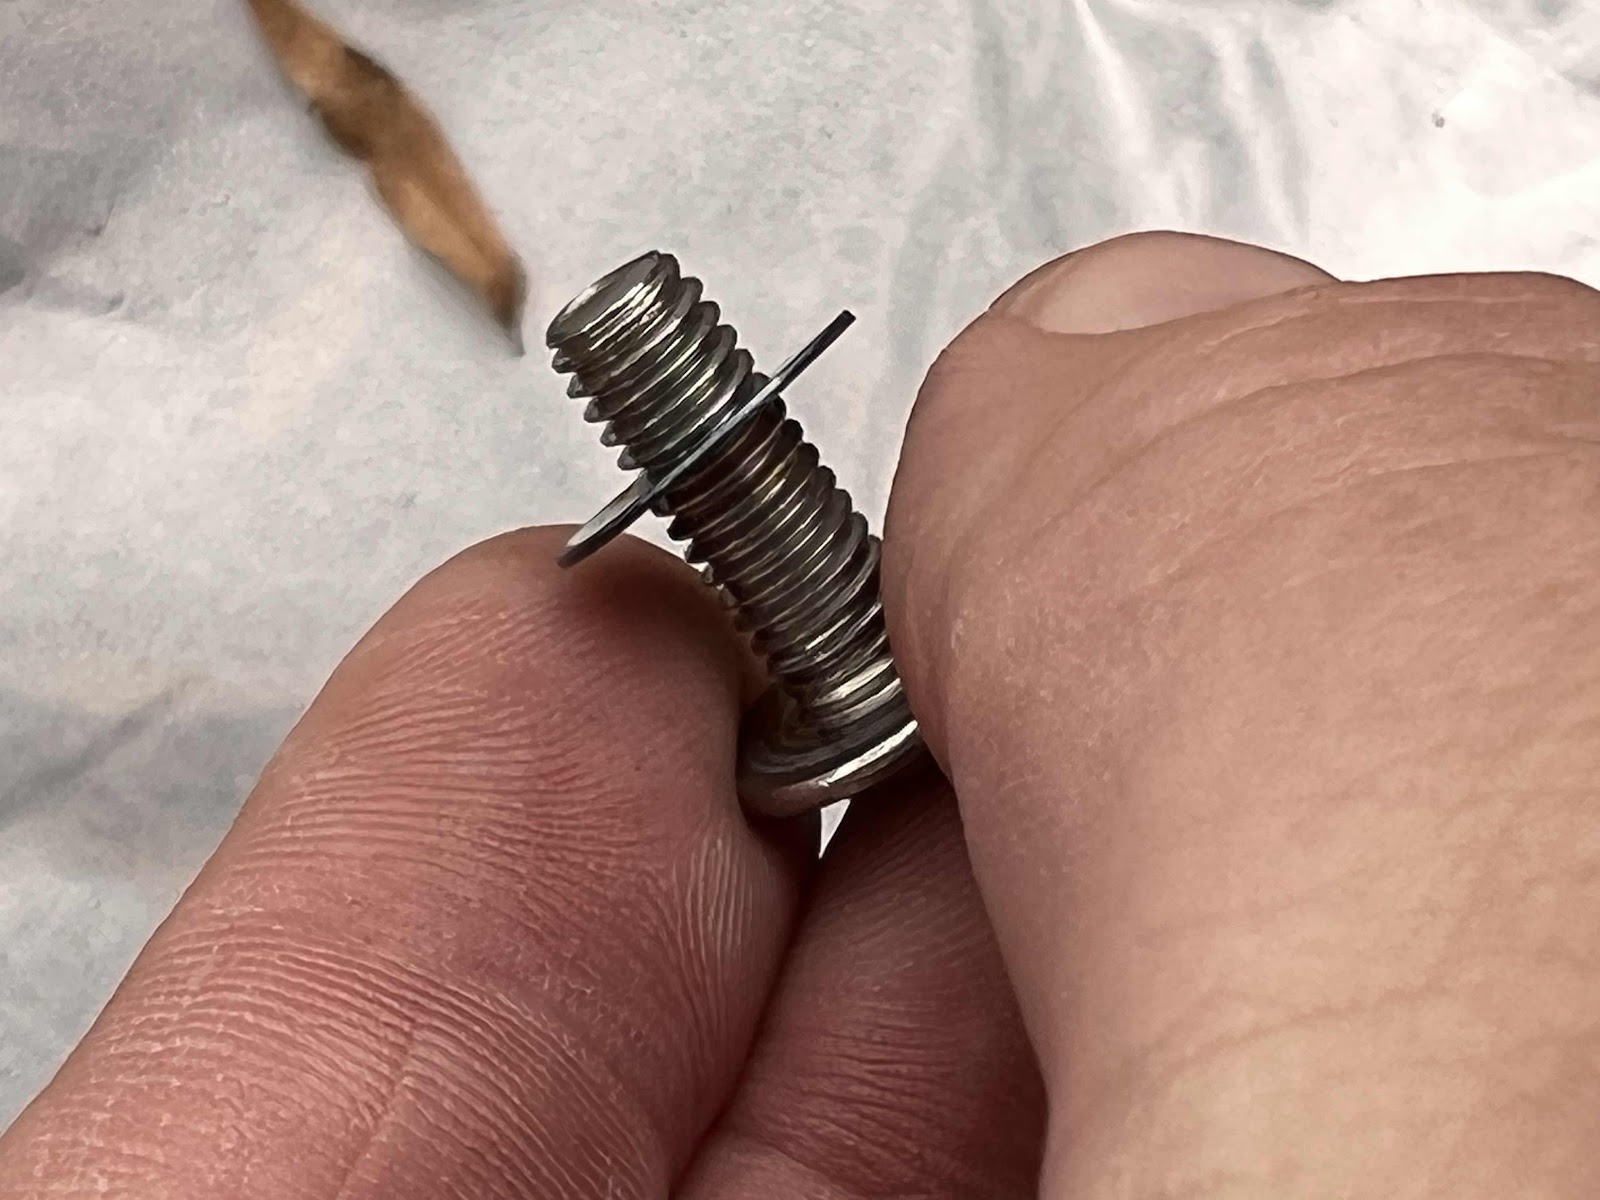

The four Allen screws need to be threaded first through a washer, then through the four holes in the new windscreen (screw head facing out, of course), then through one of the rubber spacers that come with the kit.


The Allen screws now need to be lined up with the holes on the mounting plates. The screen will need to be flexed a little to do this. Through some trial and error, I worked out that the best way is to bolt the new windscreen down on one side first and then flex it to make the screws line up with the holes on the other side.
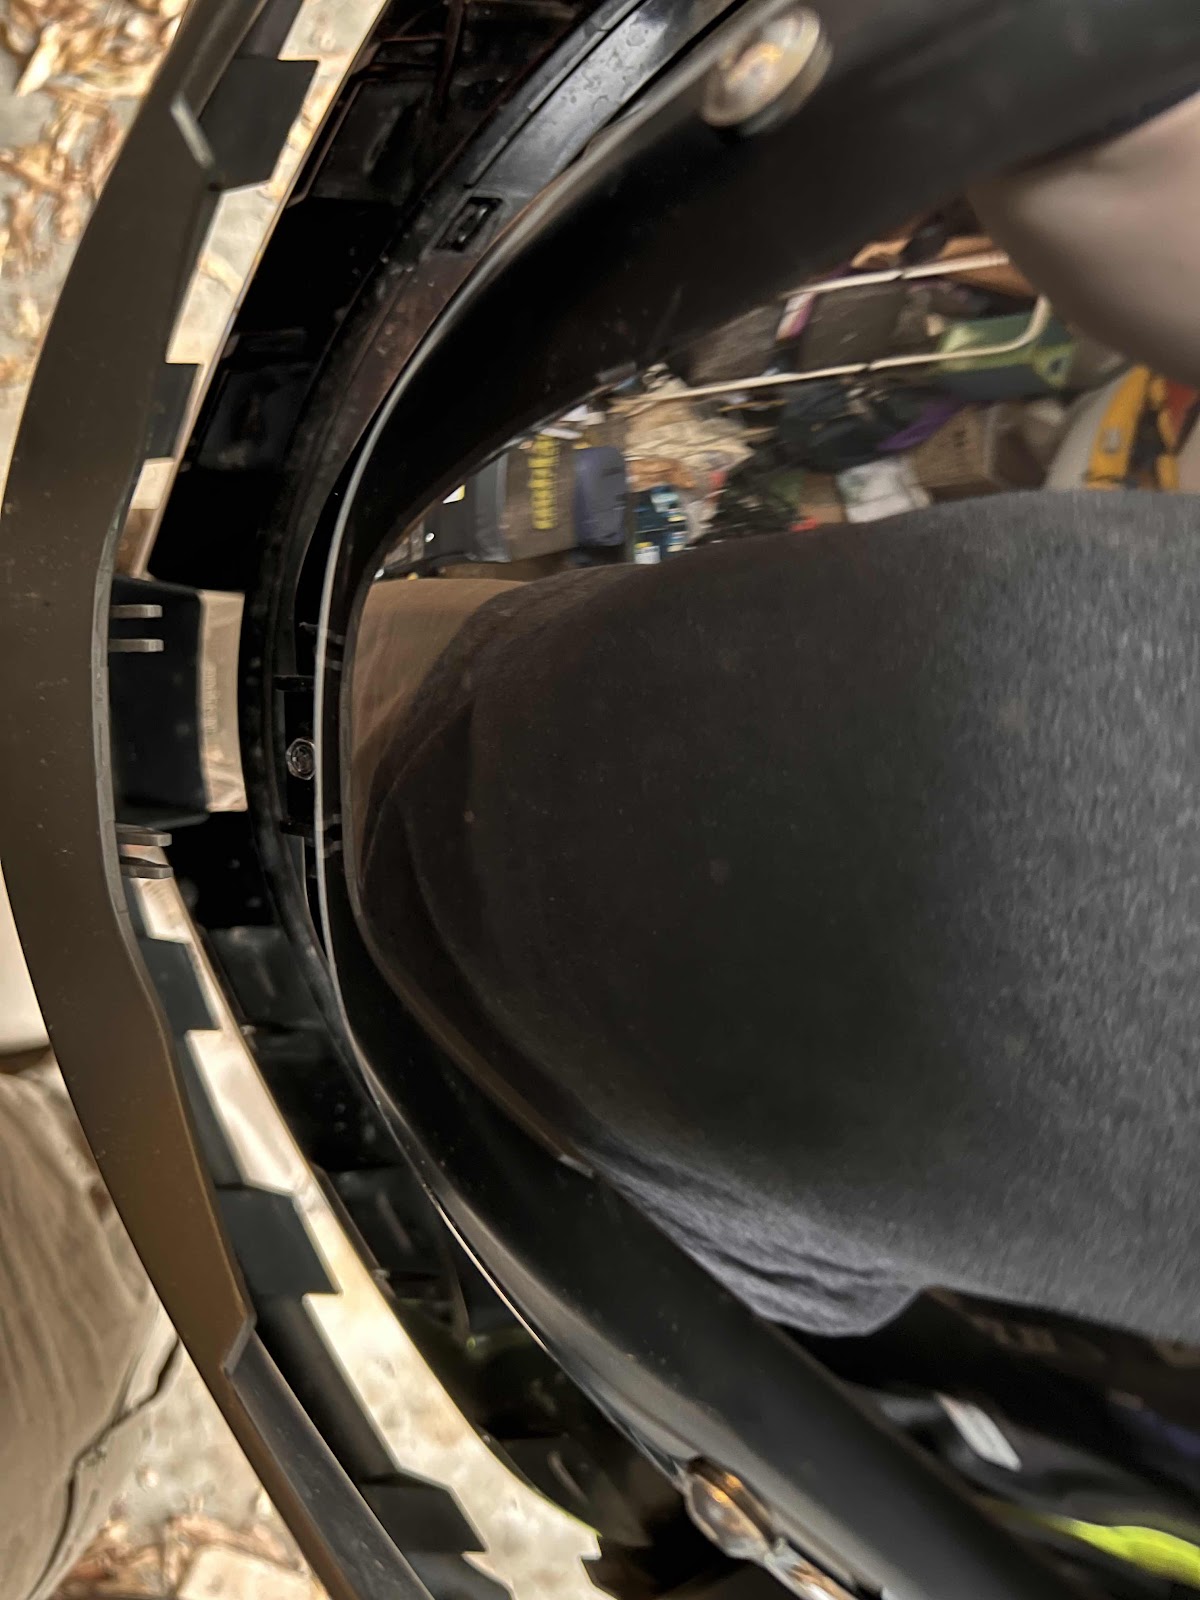
There are a lot of finicky tabs at the bottom of the nosepiece that now have to be lined up with slots in the motorcycle body before you can snap the nosepiece into place.
The lower of the two torx screws are easy to put back in.


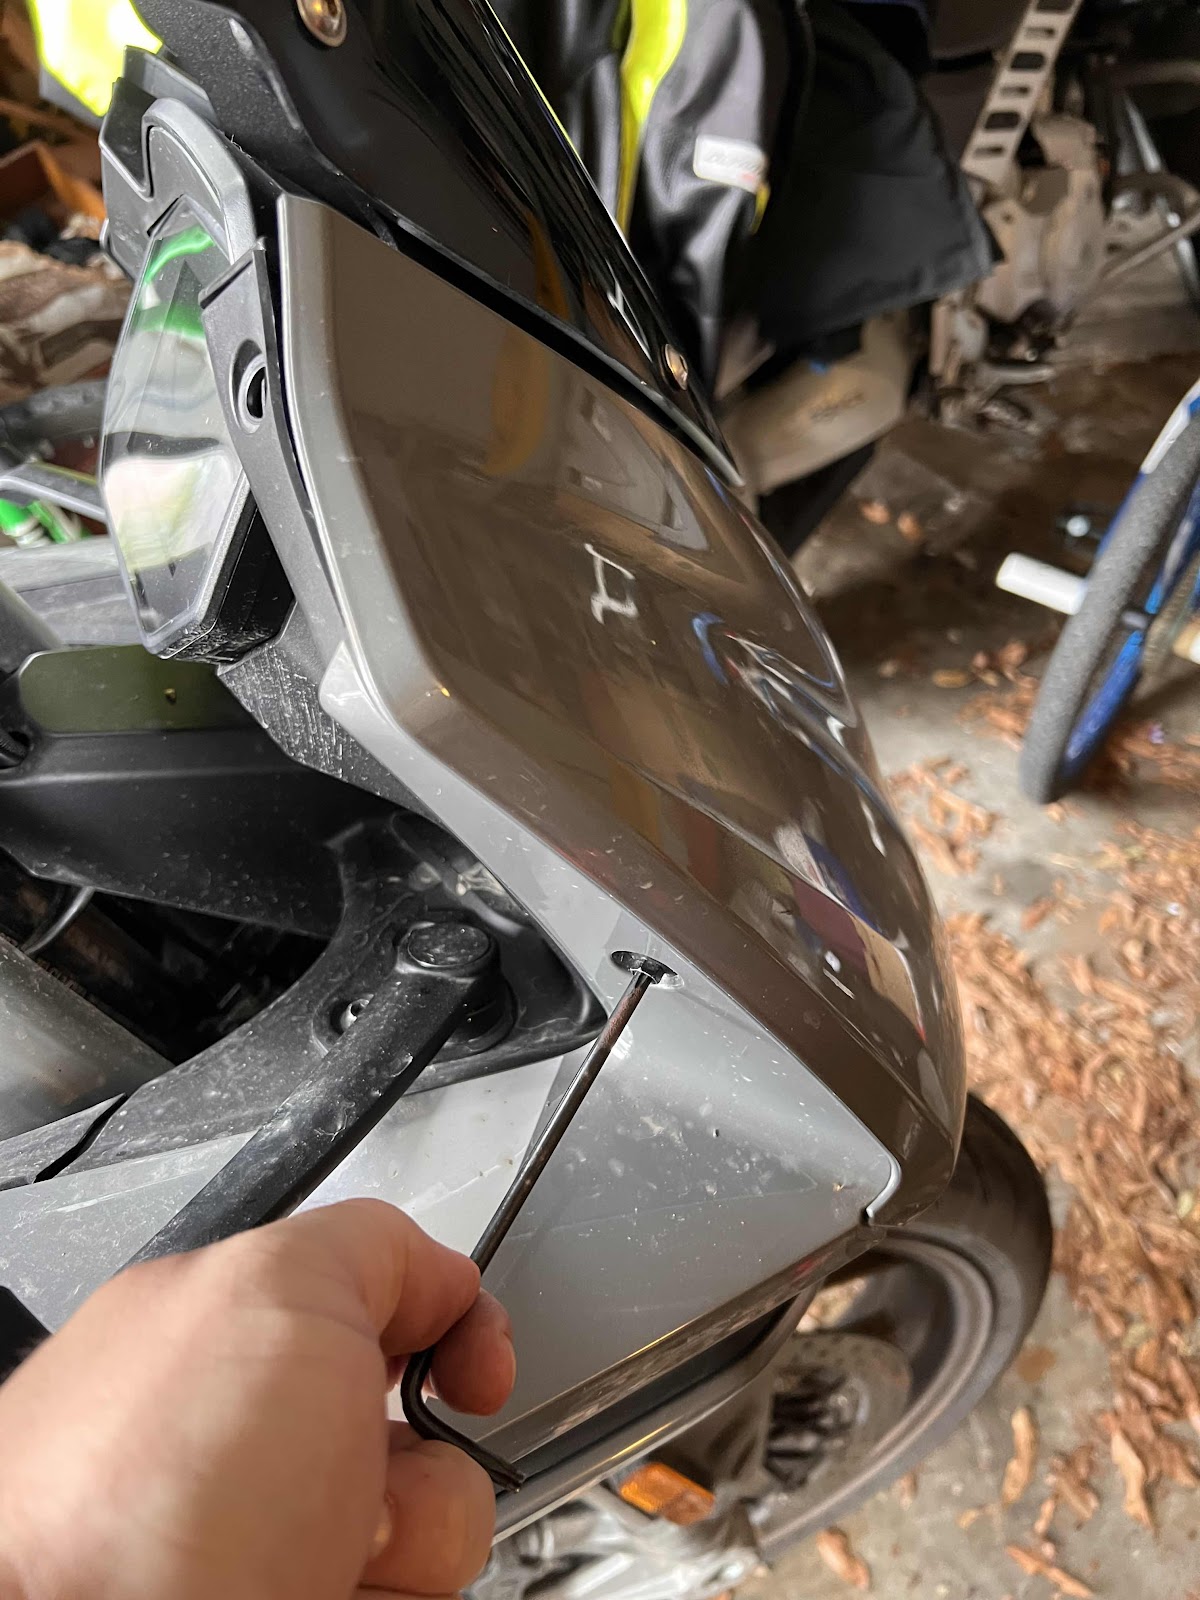
The upper two torx screws are harder to align, however, since the upper sides of the nosepiece now have to wrap around an extra piece of metal. You will just have to (gently) force them into place and hold them while you seat the screws.

After picture.
Fortunately, Zero makes a touring windscreen for the SR/S. Unfortunately, it is somewhat hard to come by and ships with no installation instructions whatsoever.
To help you with the first problem, here is the shop I got mine from:
To help with the second, here is my illustrated guide to installation…
Equipment:
You will need a T25 torx wrench and a size 4 Allen wrench.
Procedure:
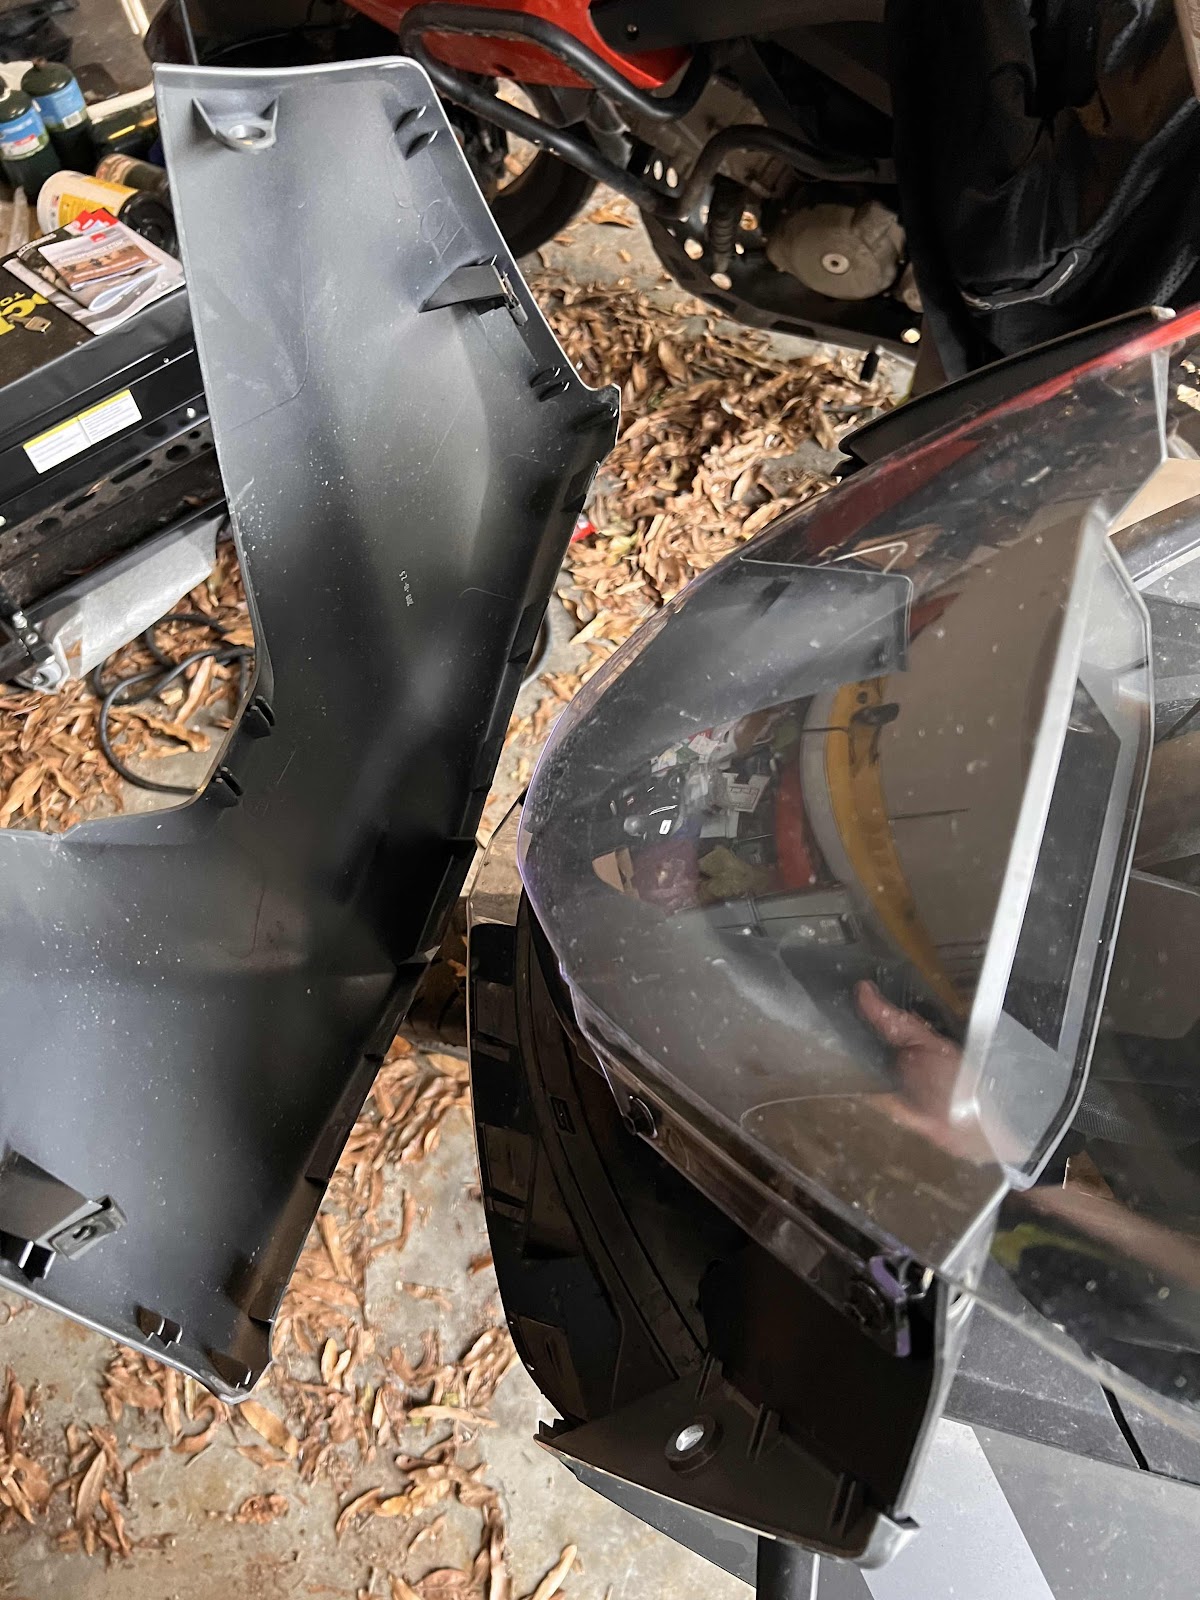
First, remove the four torx screws holding the front nosepiece onto the body.
Pry the rear ends of the nosepiece out of their moorings and then simply slide the nose off the bike.
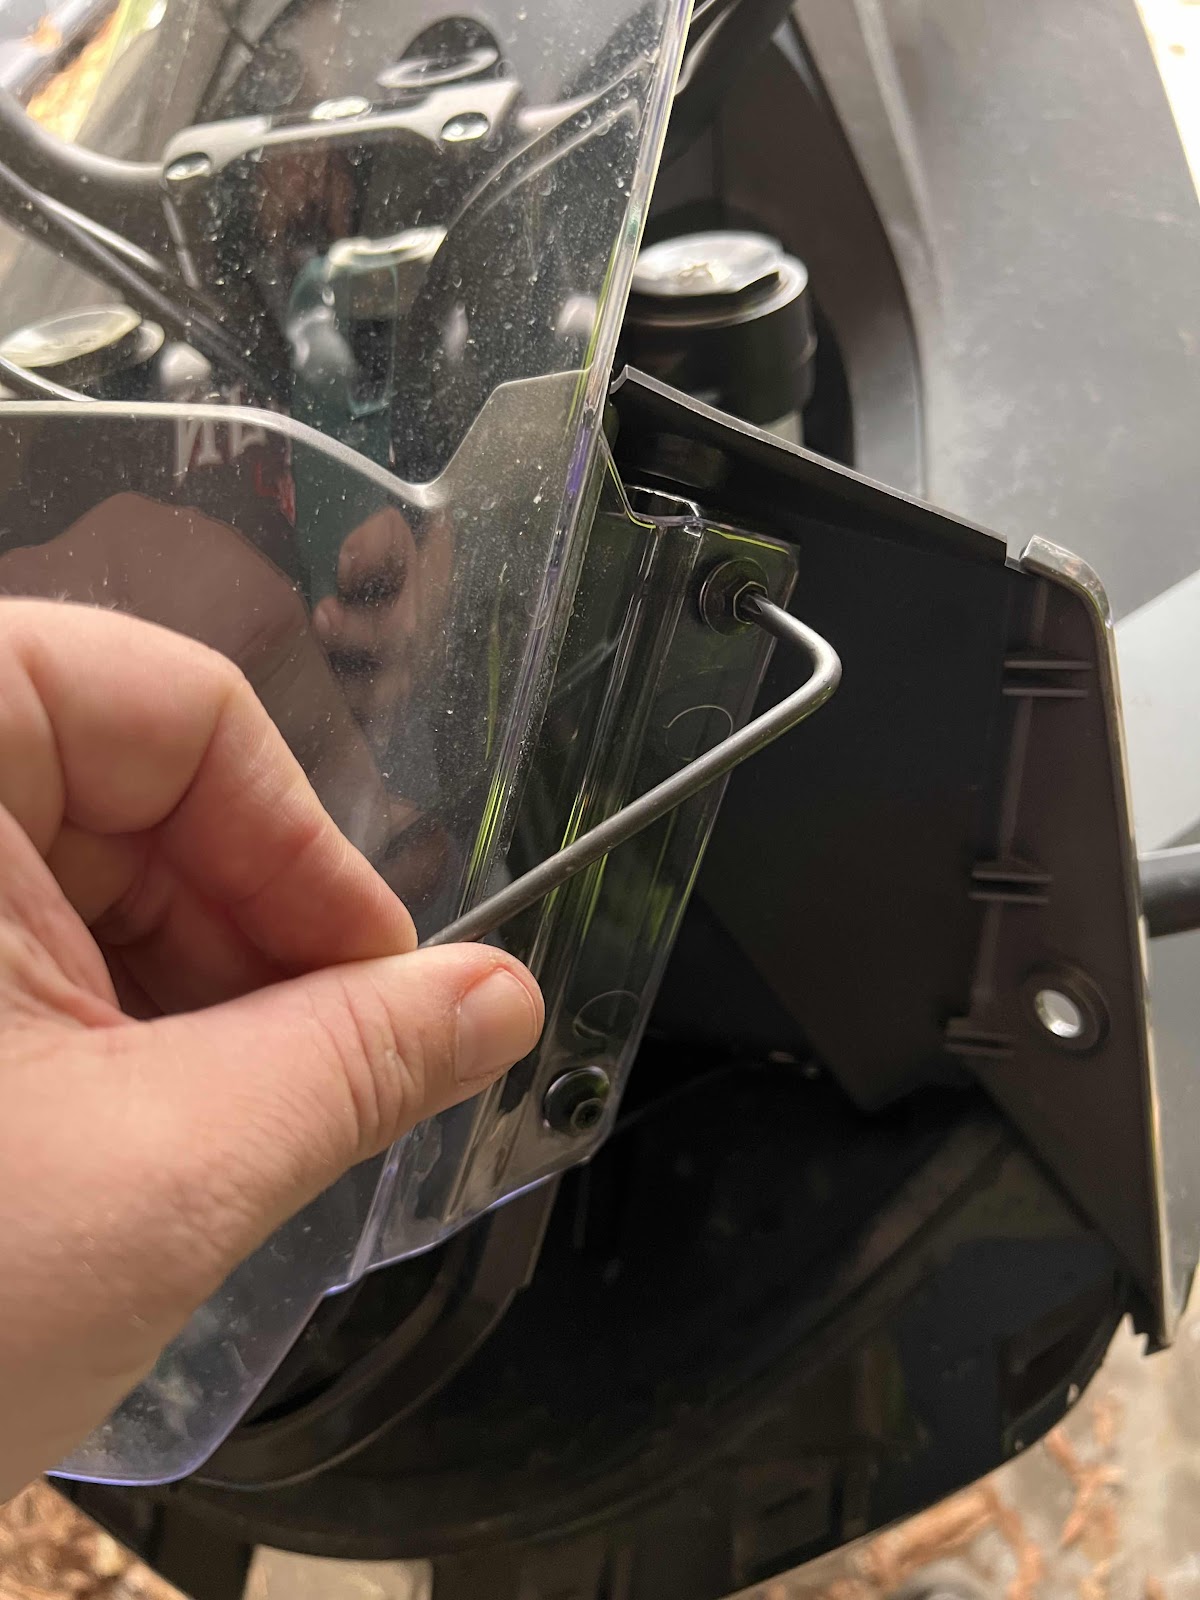
Now, remove the four torx screws holding the existing windscreen in place. Save these screws - you still need them.
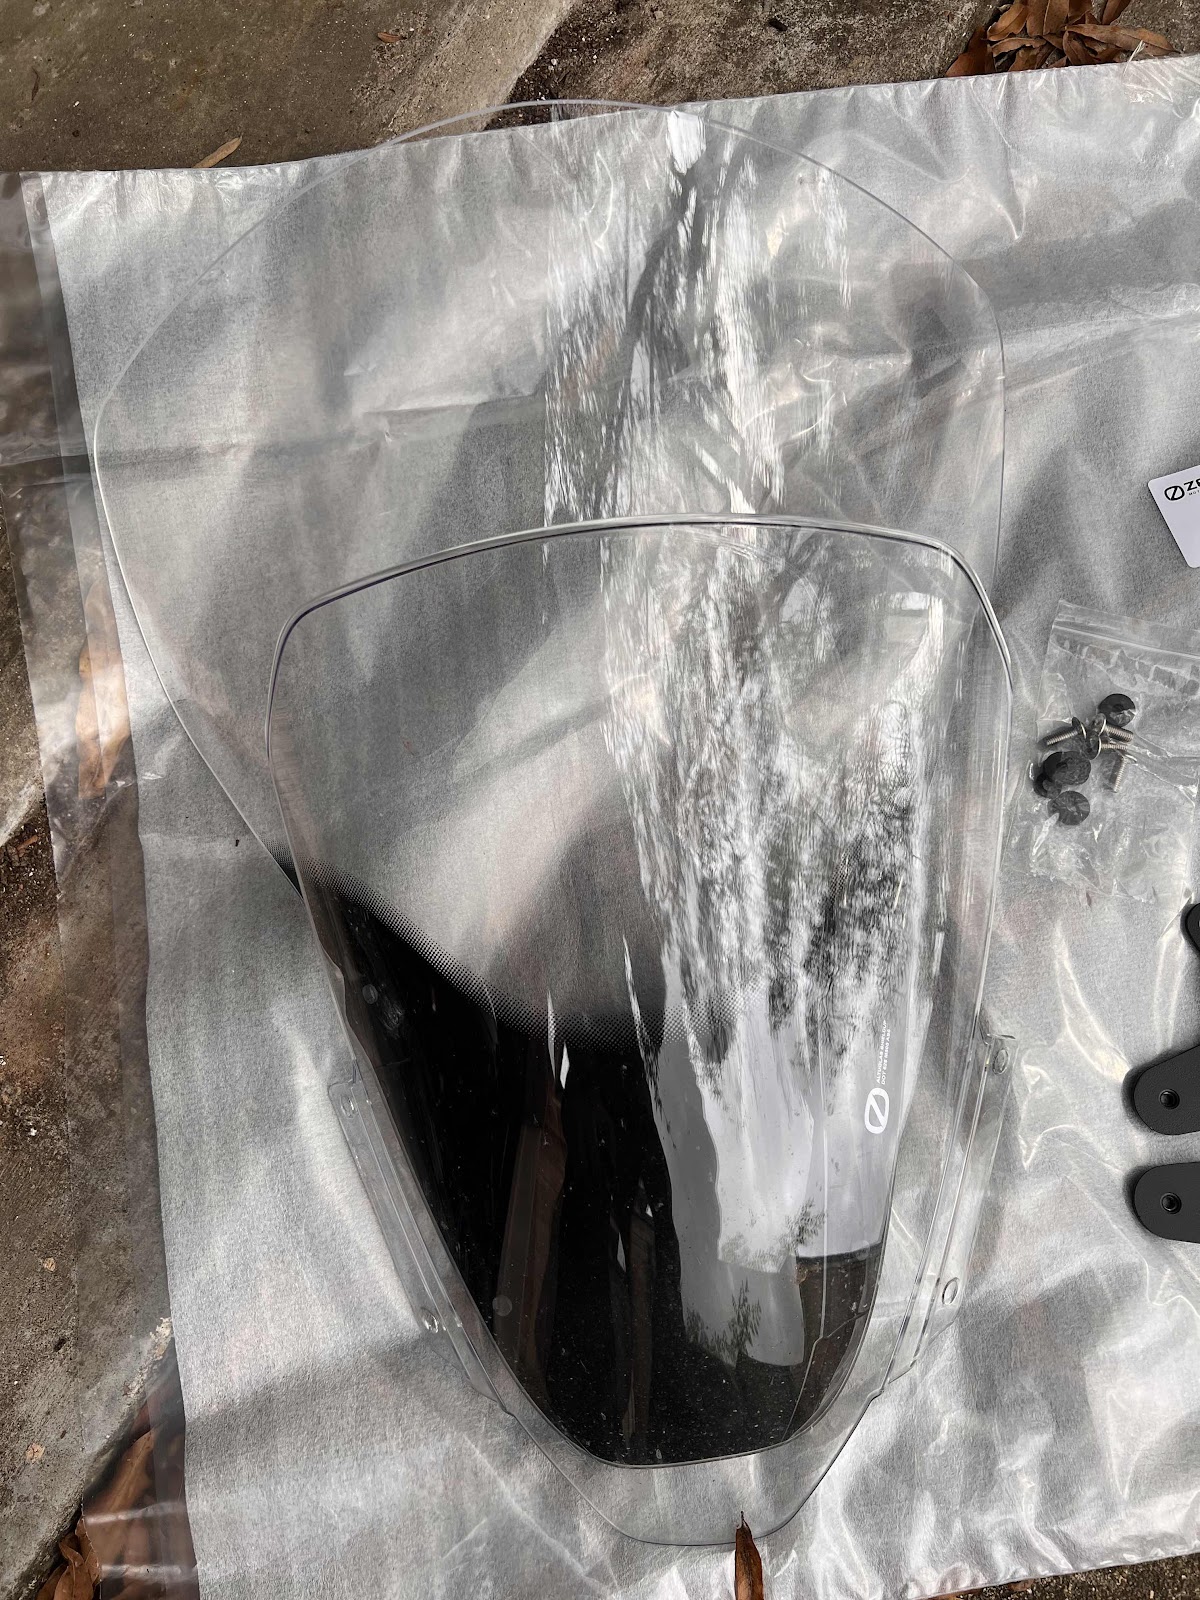
Here is a size comparison of the old and new windscreens.
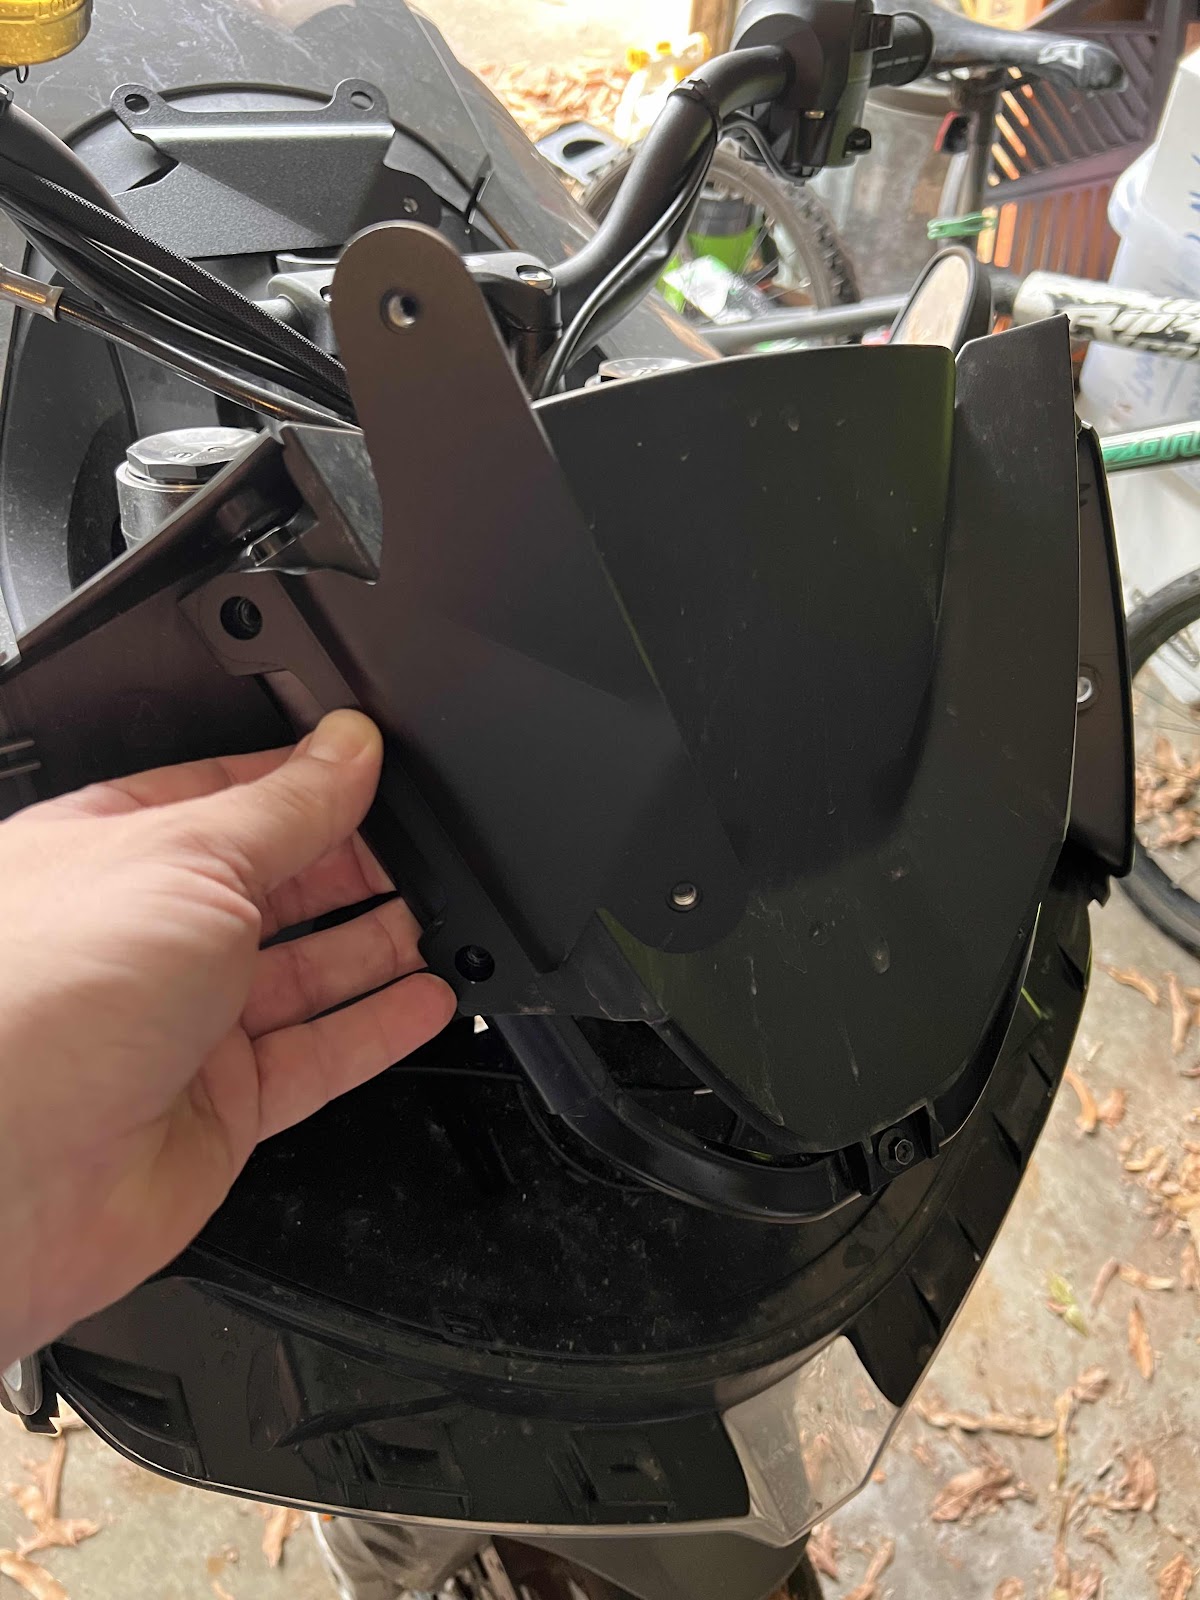
Use the four torx screws you just removed from the old windscreen to bolt on the mounting hardware for the new windscreen.
The four Allen screws need to be threaded first through a washer, then through the four holes in the new windscreen (screw head facing out, of course), then through one of the rubber spacers that come with the kit.
The Allen screws now need to be lined up with the holes on the mounting plates. The screen will need to be flexed a little to do this. Through some trial and error, I worked out that the best way is to bolt the new windscreen down on one side first and then flex it to make the screws line up with the holes on the other side.
There are a lot of finicky tabs at the bottom of the nosepiece that now have to be lined up with slots in the motorcycle body before you can snap the nosepiece into place.
The lower of the two torx screws are easy to put back in.
The upper two torx screws are harder to align, however, since the upper sides of the nosepiece now have to wrap around an extra piece of metal. You will just have to (gently) force them into place and hold them while you seat the screws.
After picture.

Comments
Post a Comment