How To: replace a BMW F650CS instrument cluster / circuitboard
Since I have read that this is a relatively common repair on this particular bike, but a moderately complicated one at the same time, and not well documented in my service manual, I thought I would post this how-to.
Build in an appropriate amount of waiting time for this step. The item ships direct from Germany.
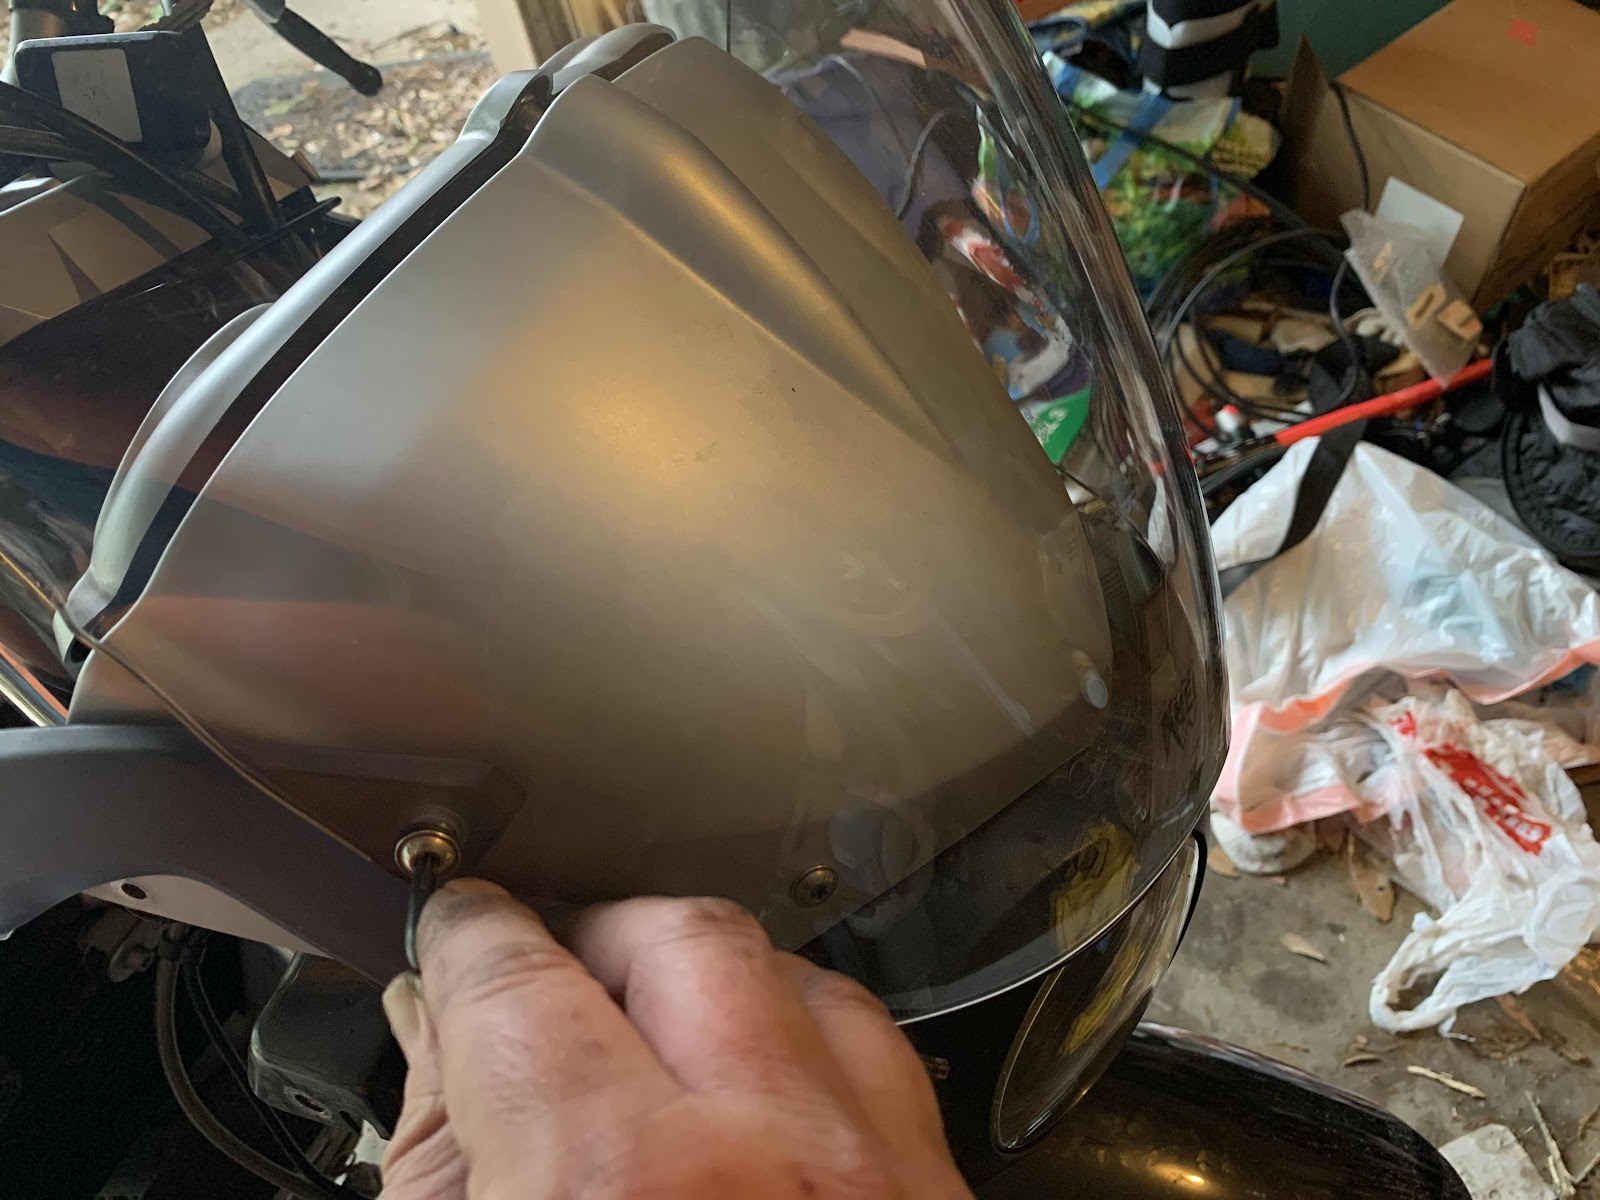
Four torx hold on the windscreen.
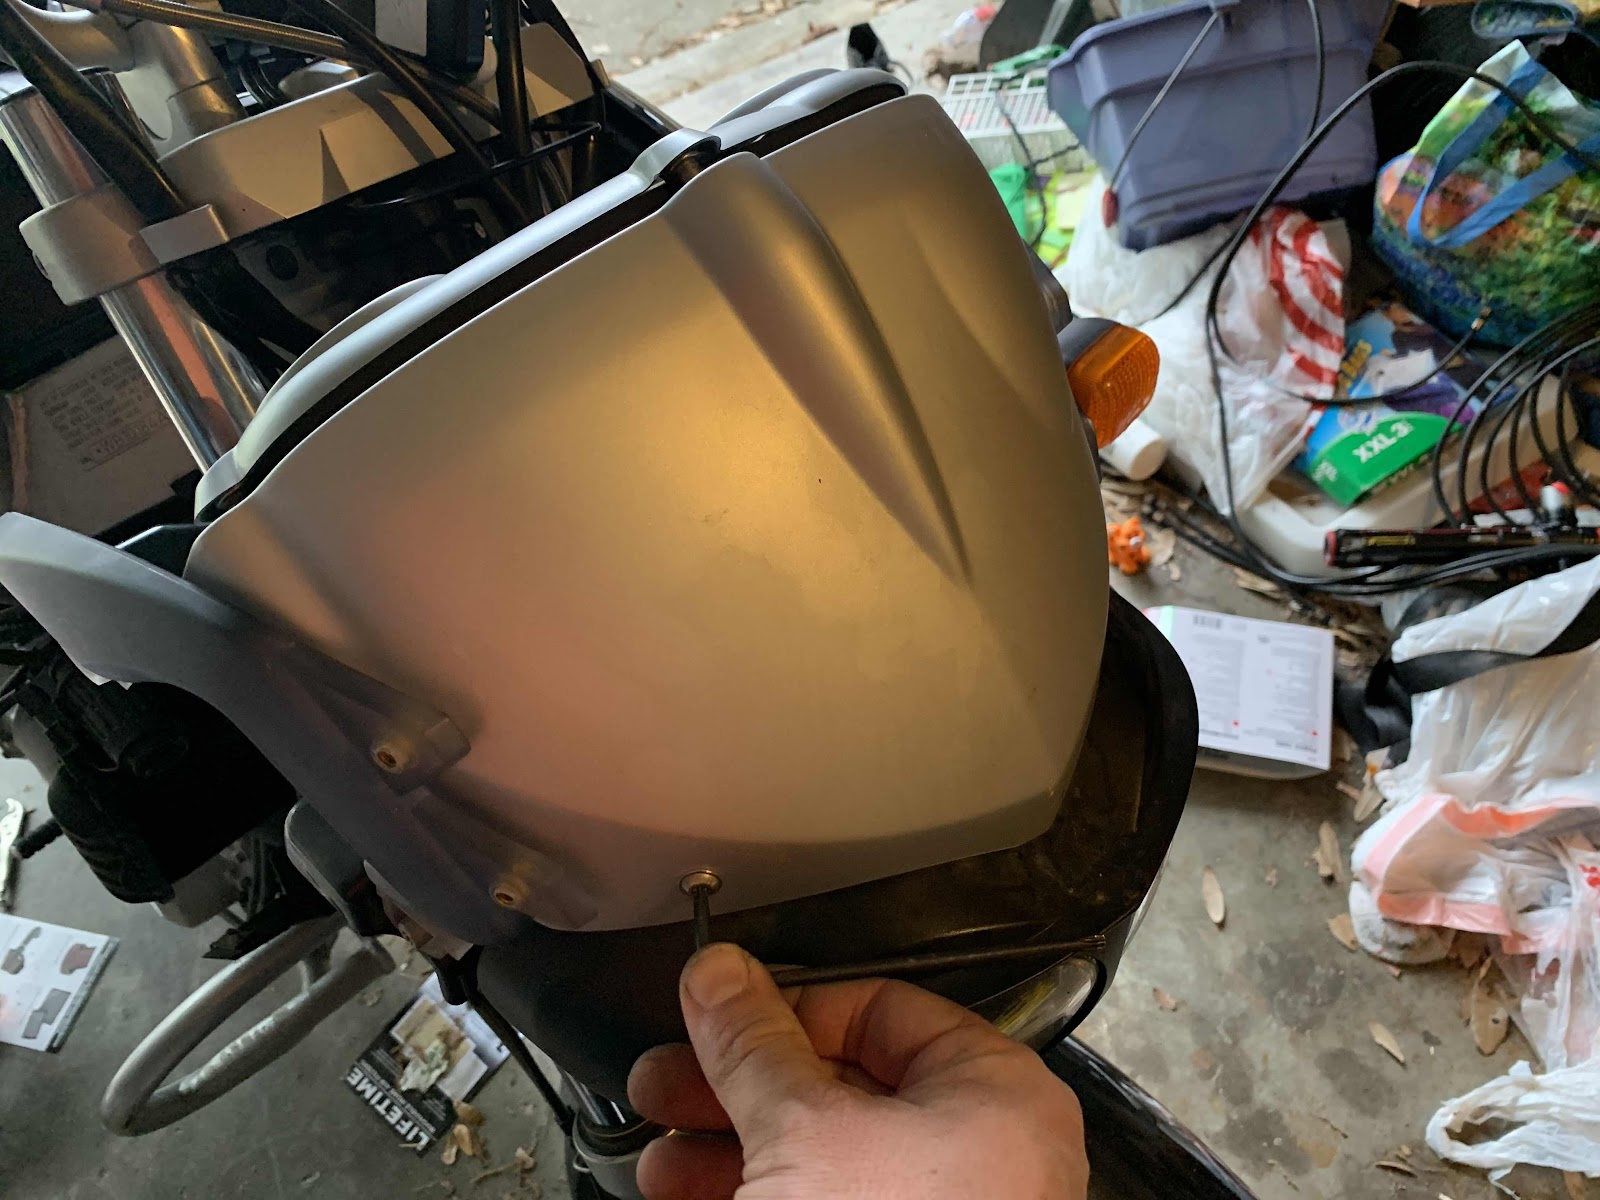
Two more same-sized torx hold on the instrument backing cover.
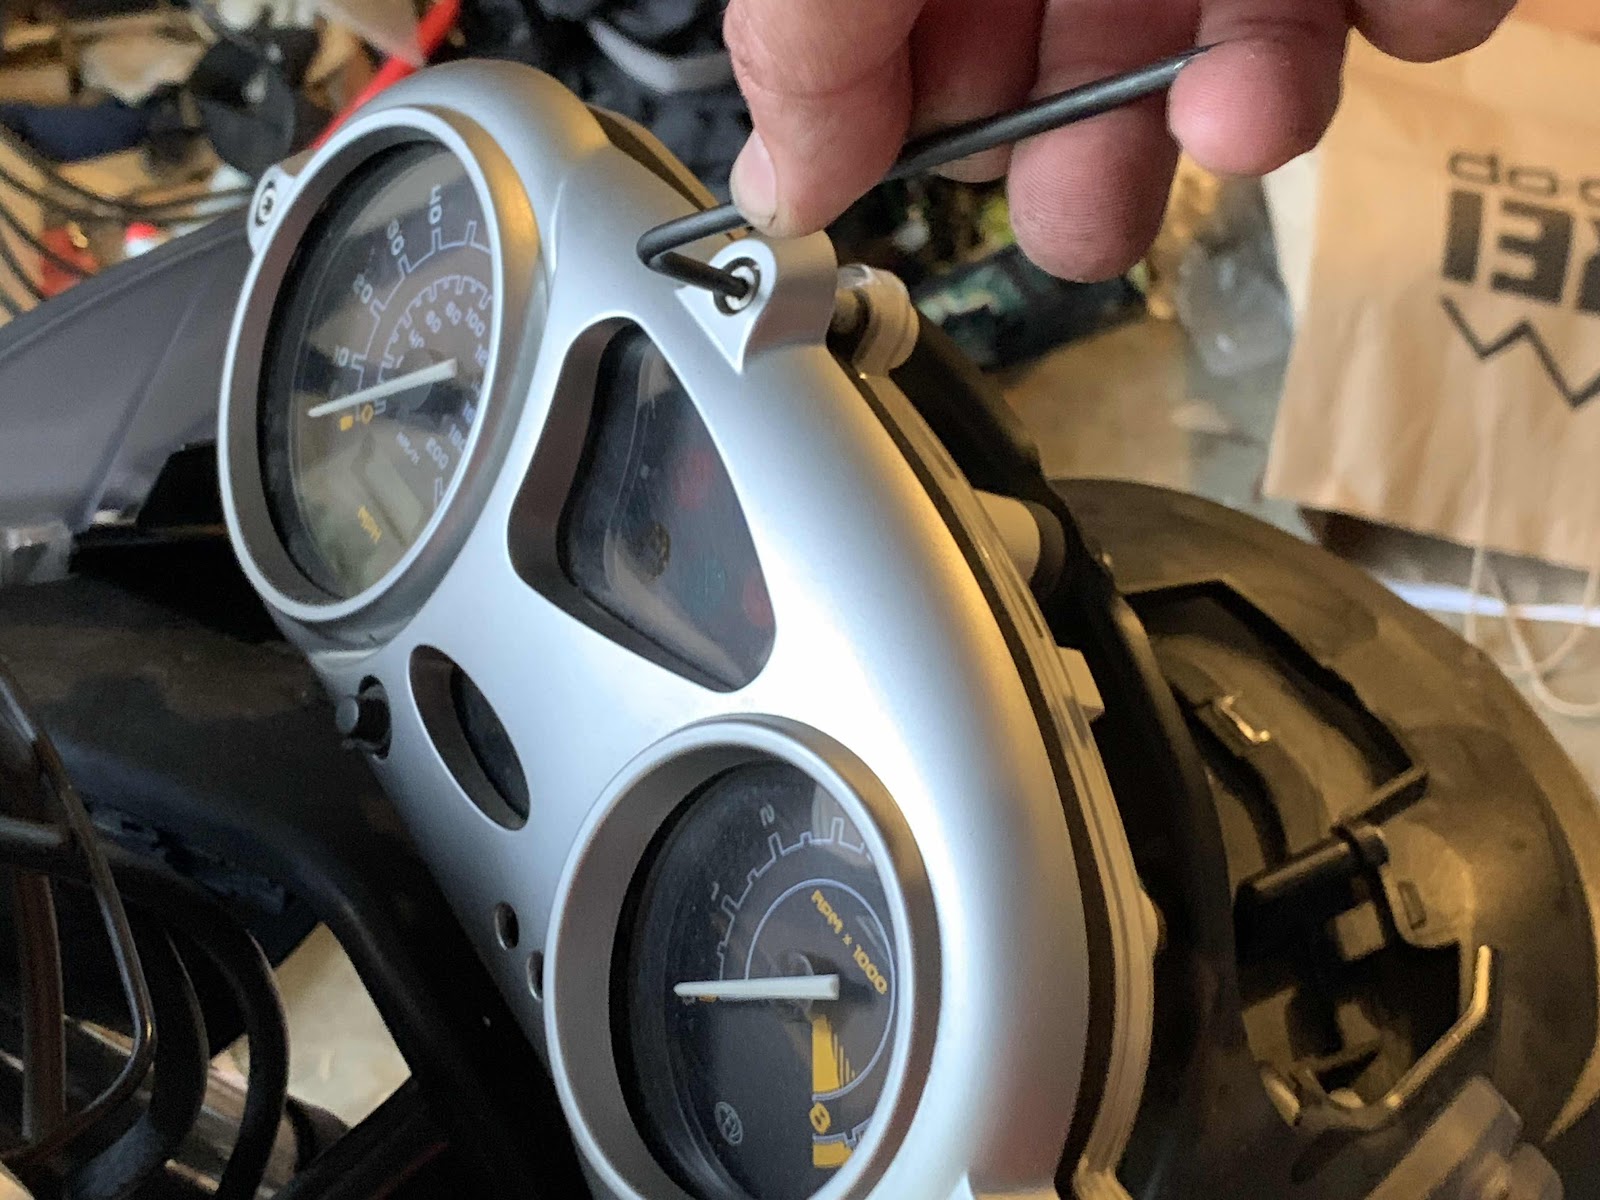
Three smaller torx screws hold on the instrument cover.
And then the clear fronting over the instrument panel is held on with three Phillips-head wood/plastic style screws.
Three circlips hold the instrument cluster in place and can be popped off with gentle action of a flathead screwdriver.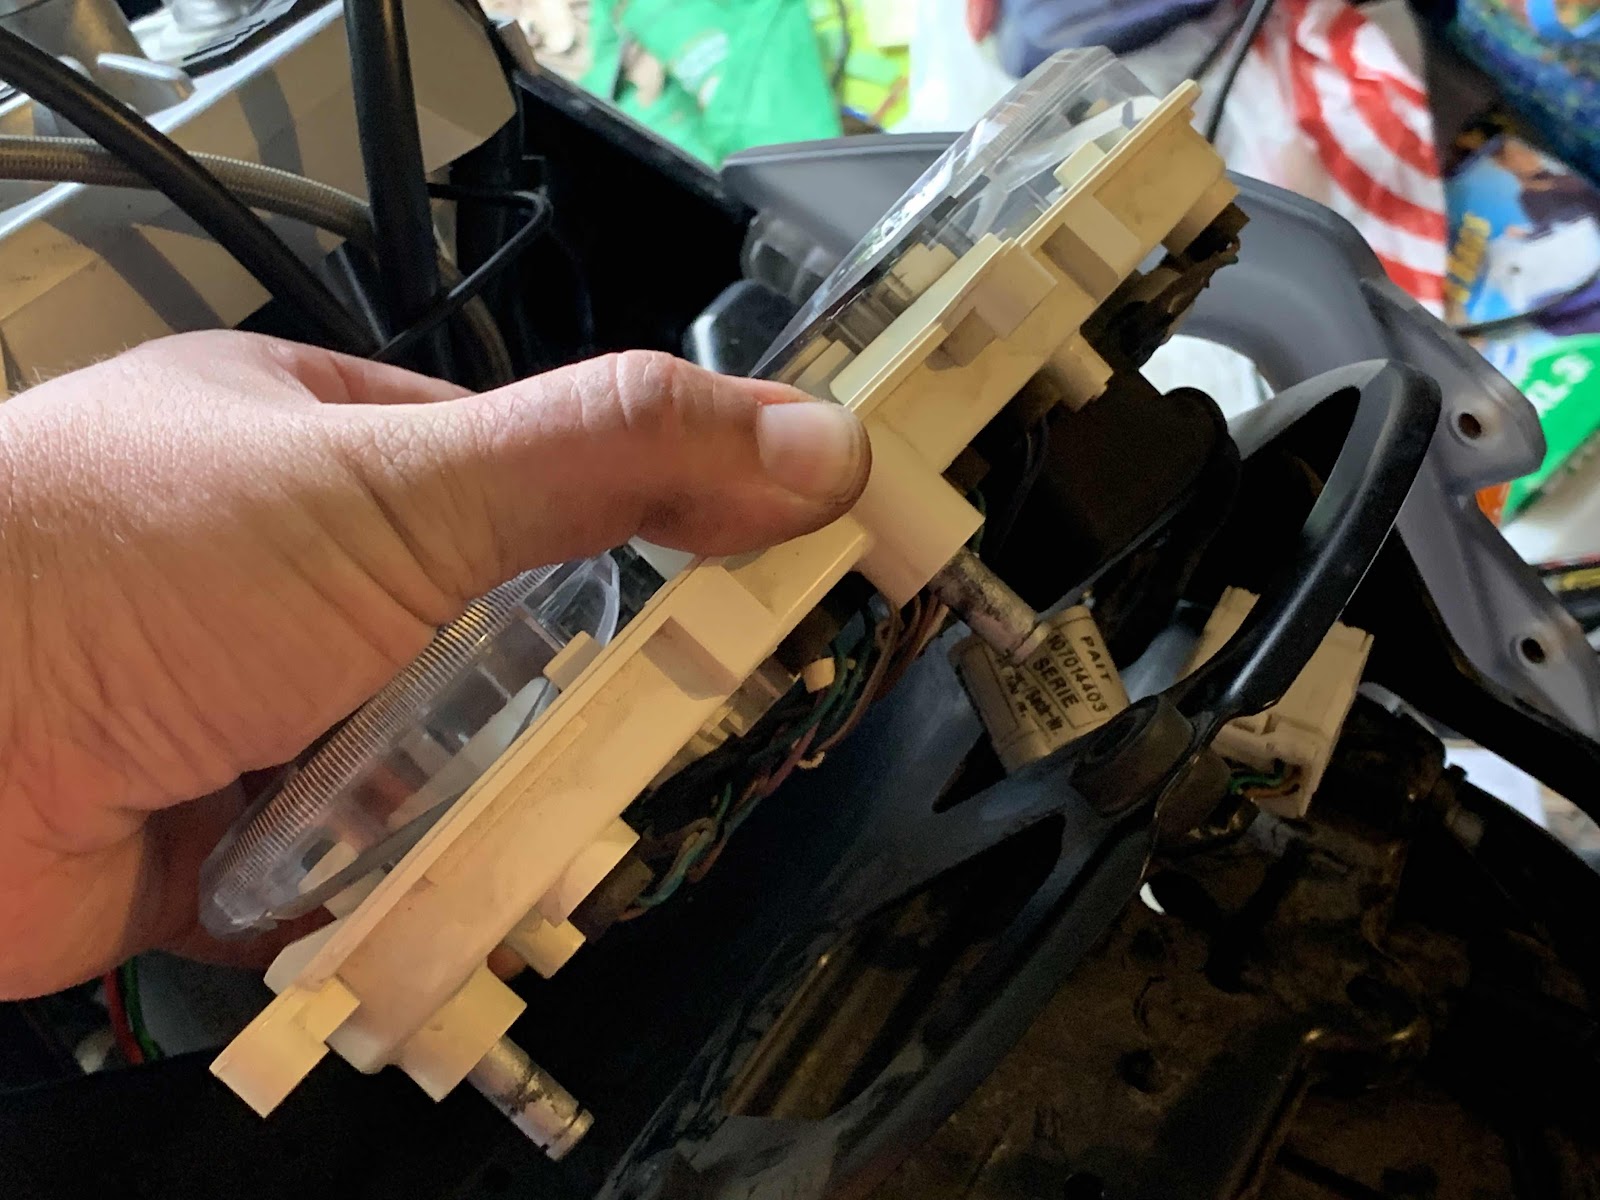
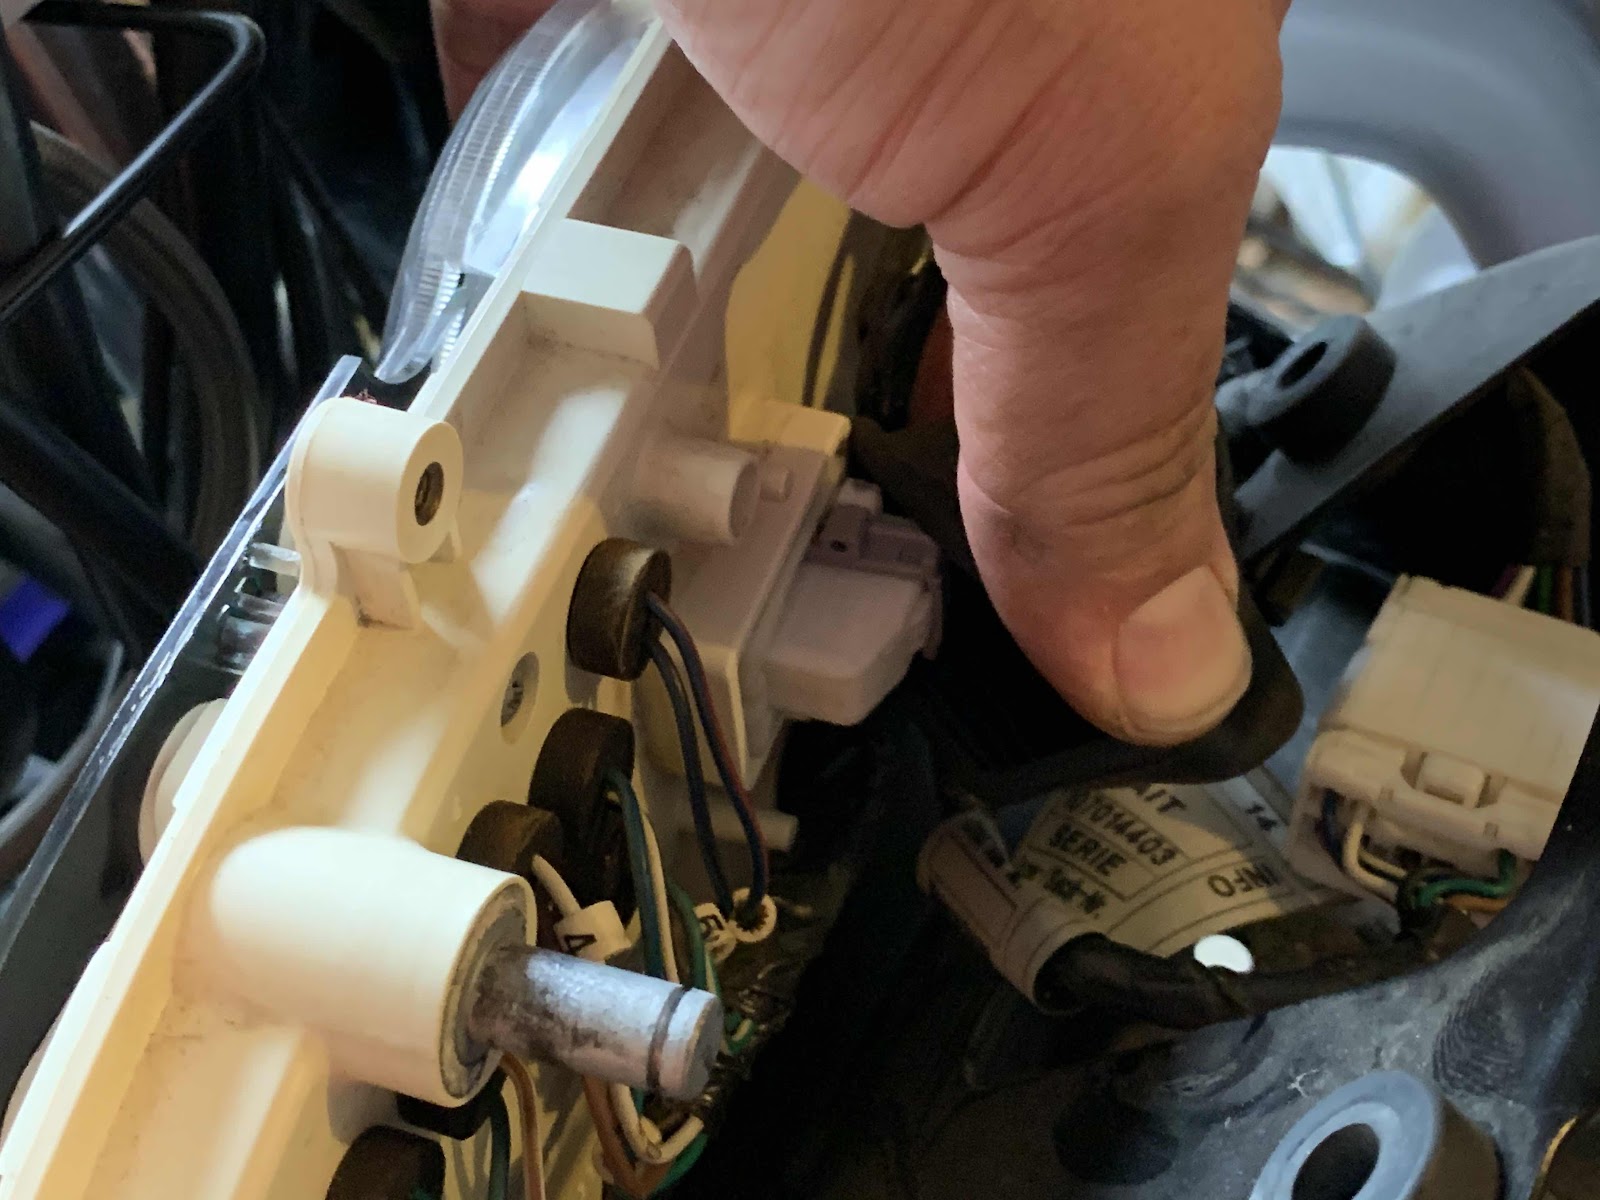
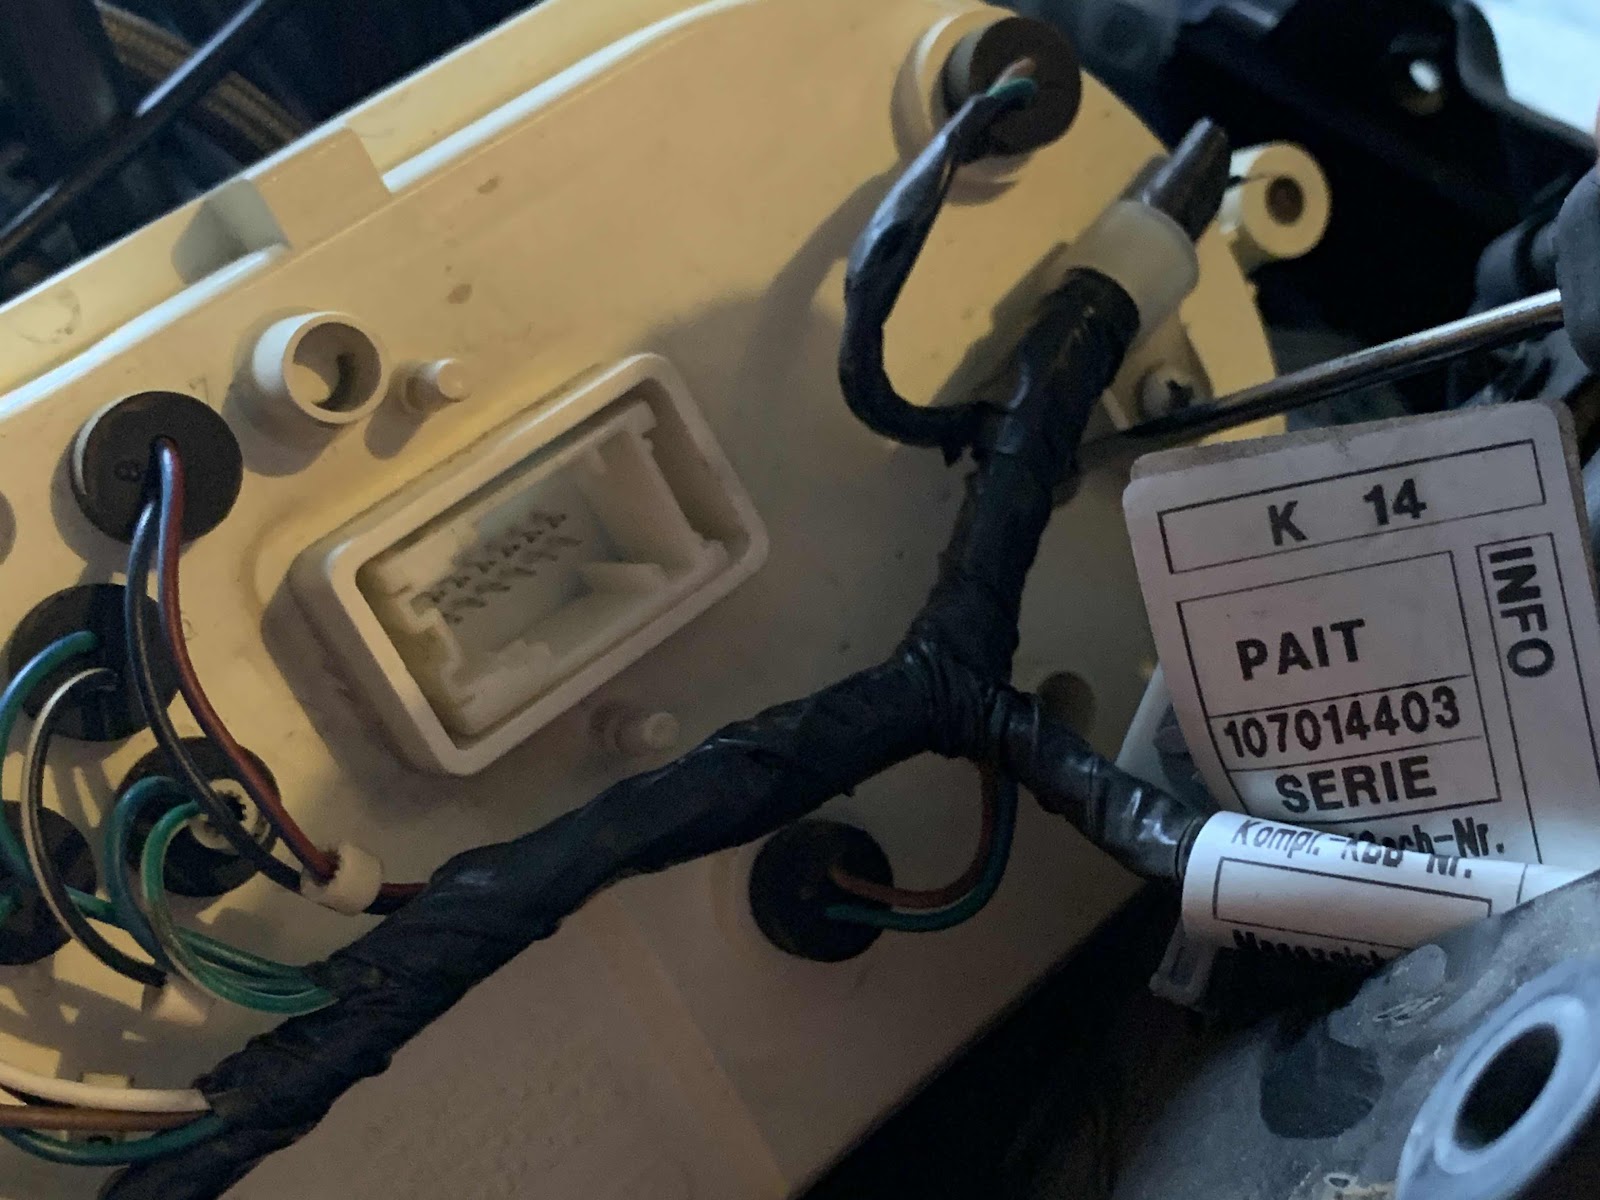
Behind the instrument panel is a rubber protector (to provide some amount of moisture protection to the circuit board, I suppose) that must be peeled off, so that…
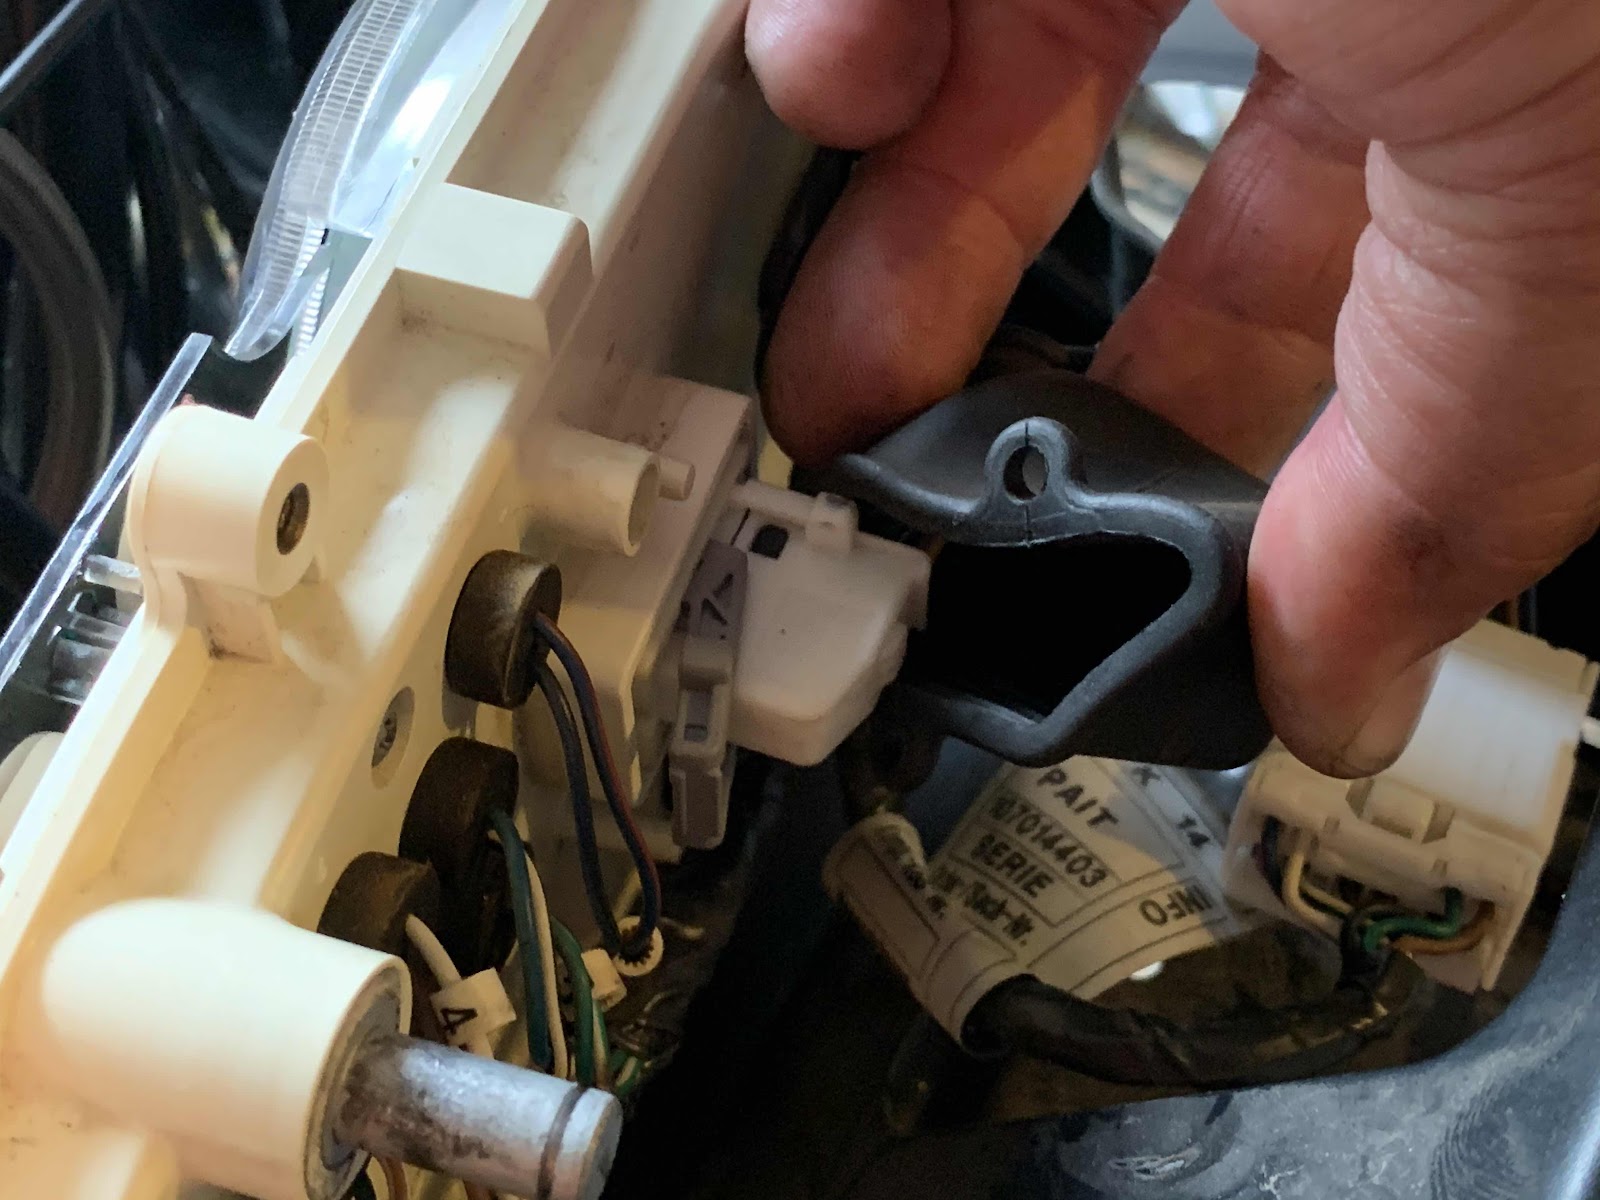
the little gray retaining clip can be rotated toward the bike’s right side, and then…
The instrument driver-connector can be unplugged.
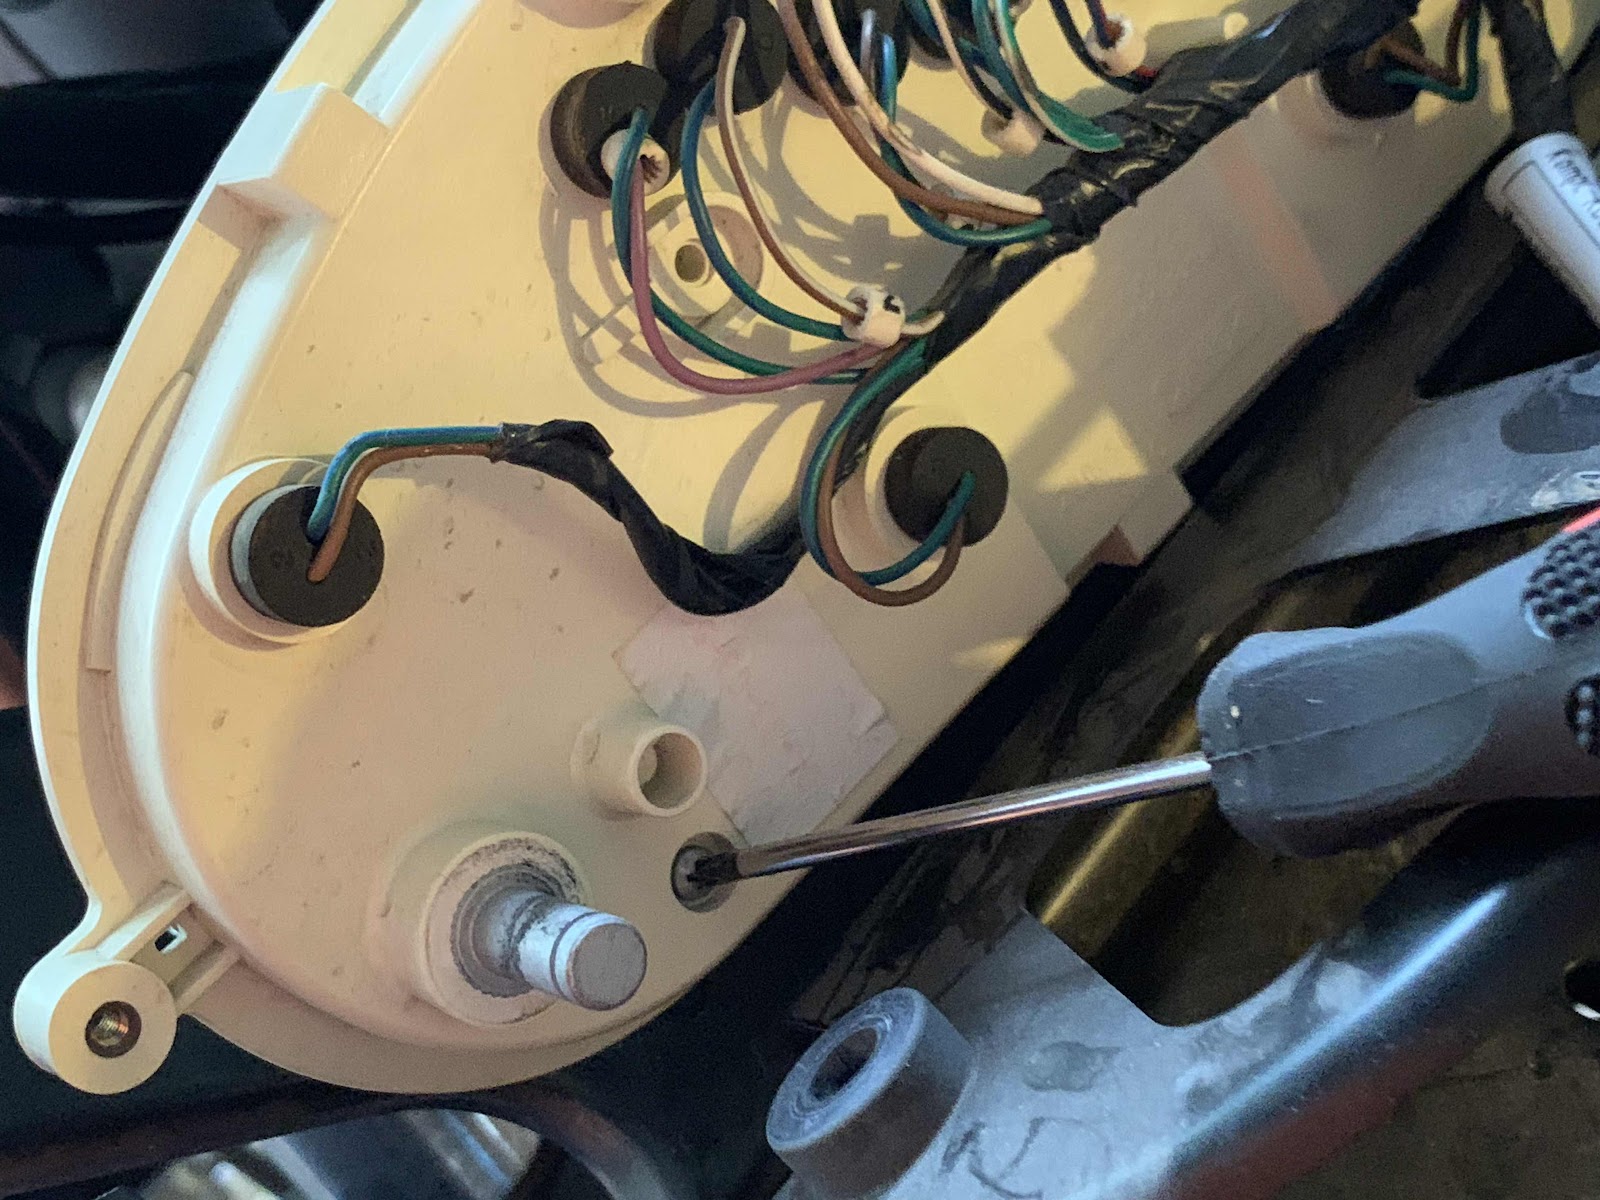
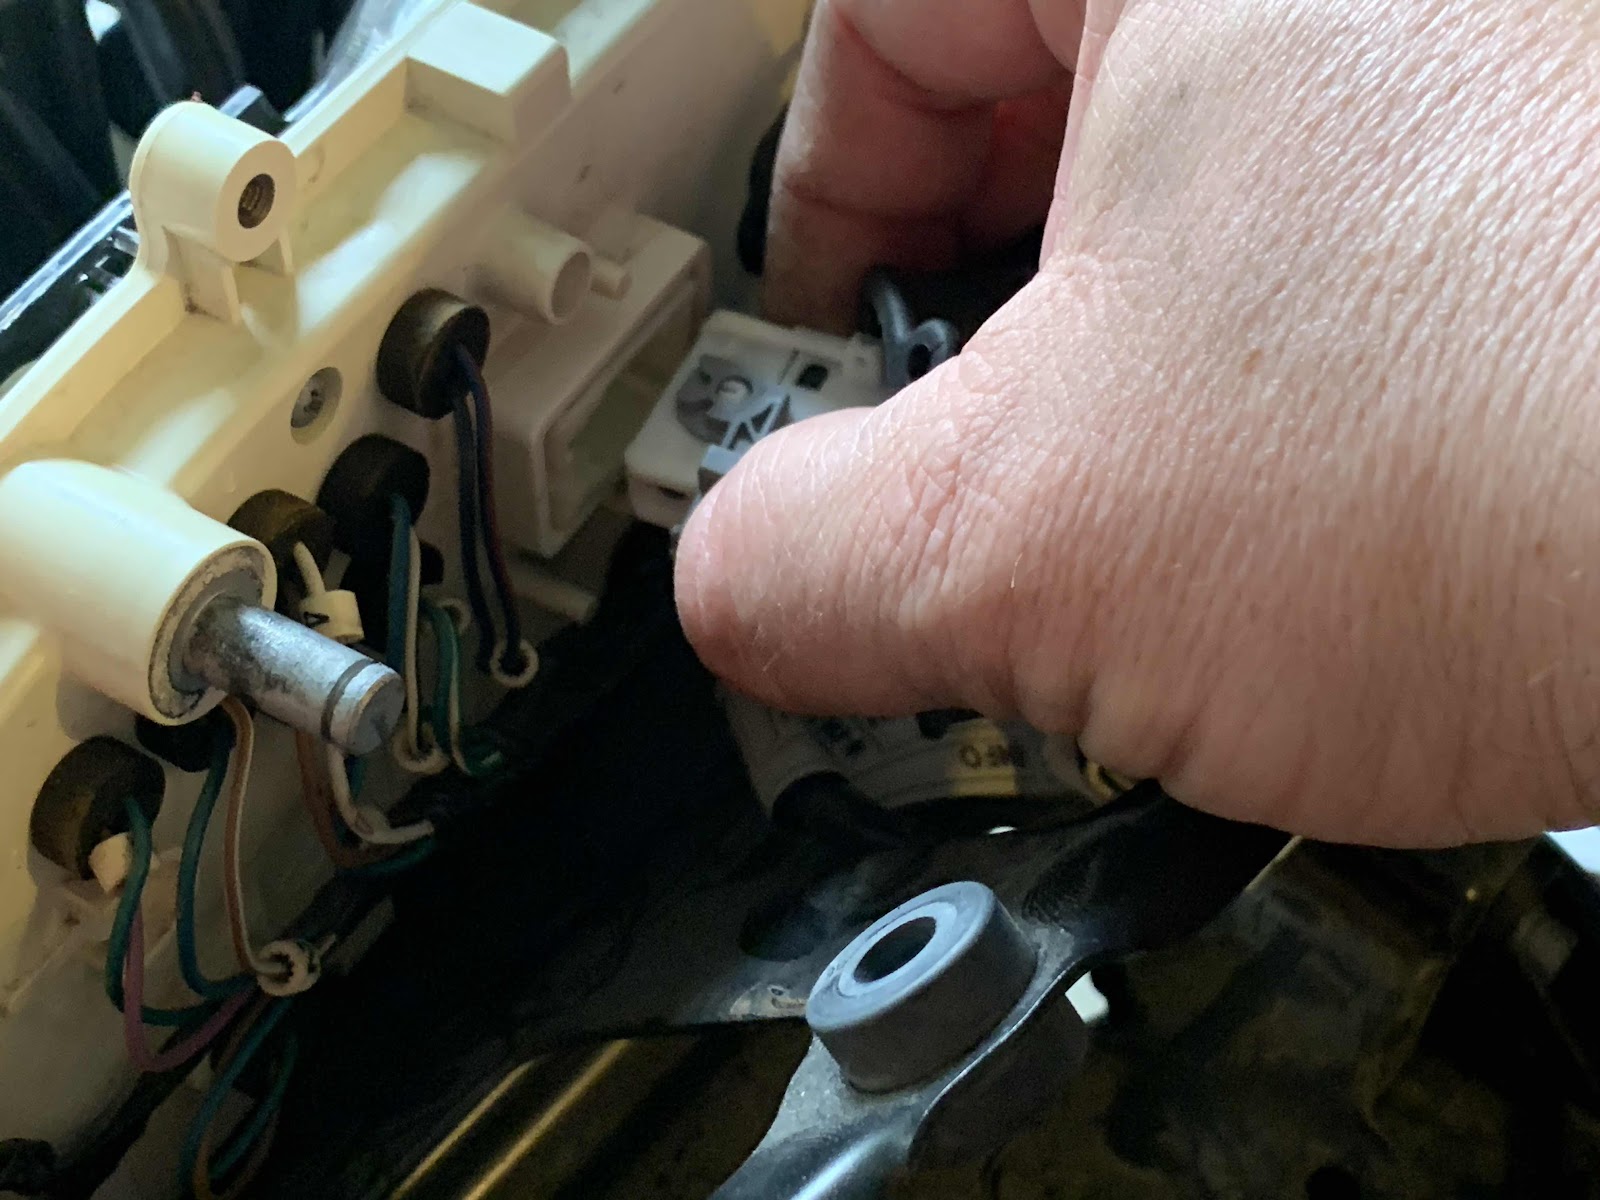
Then the electrical socket needs to be popped out with a flathead screwdriver to (gently) disconnect the retaining tabs:
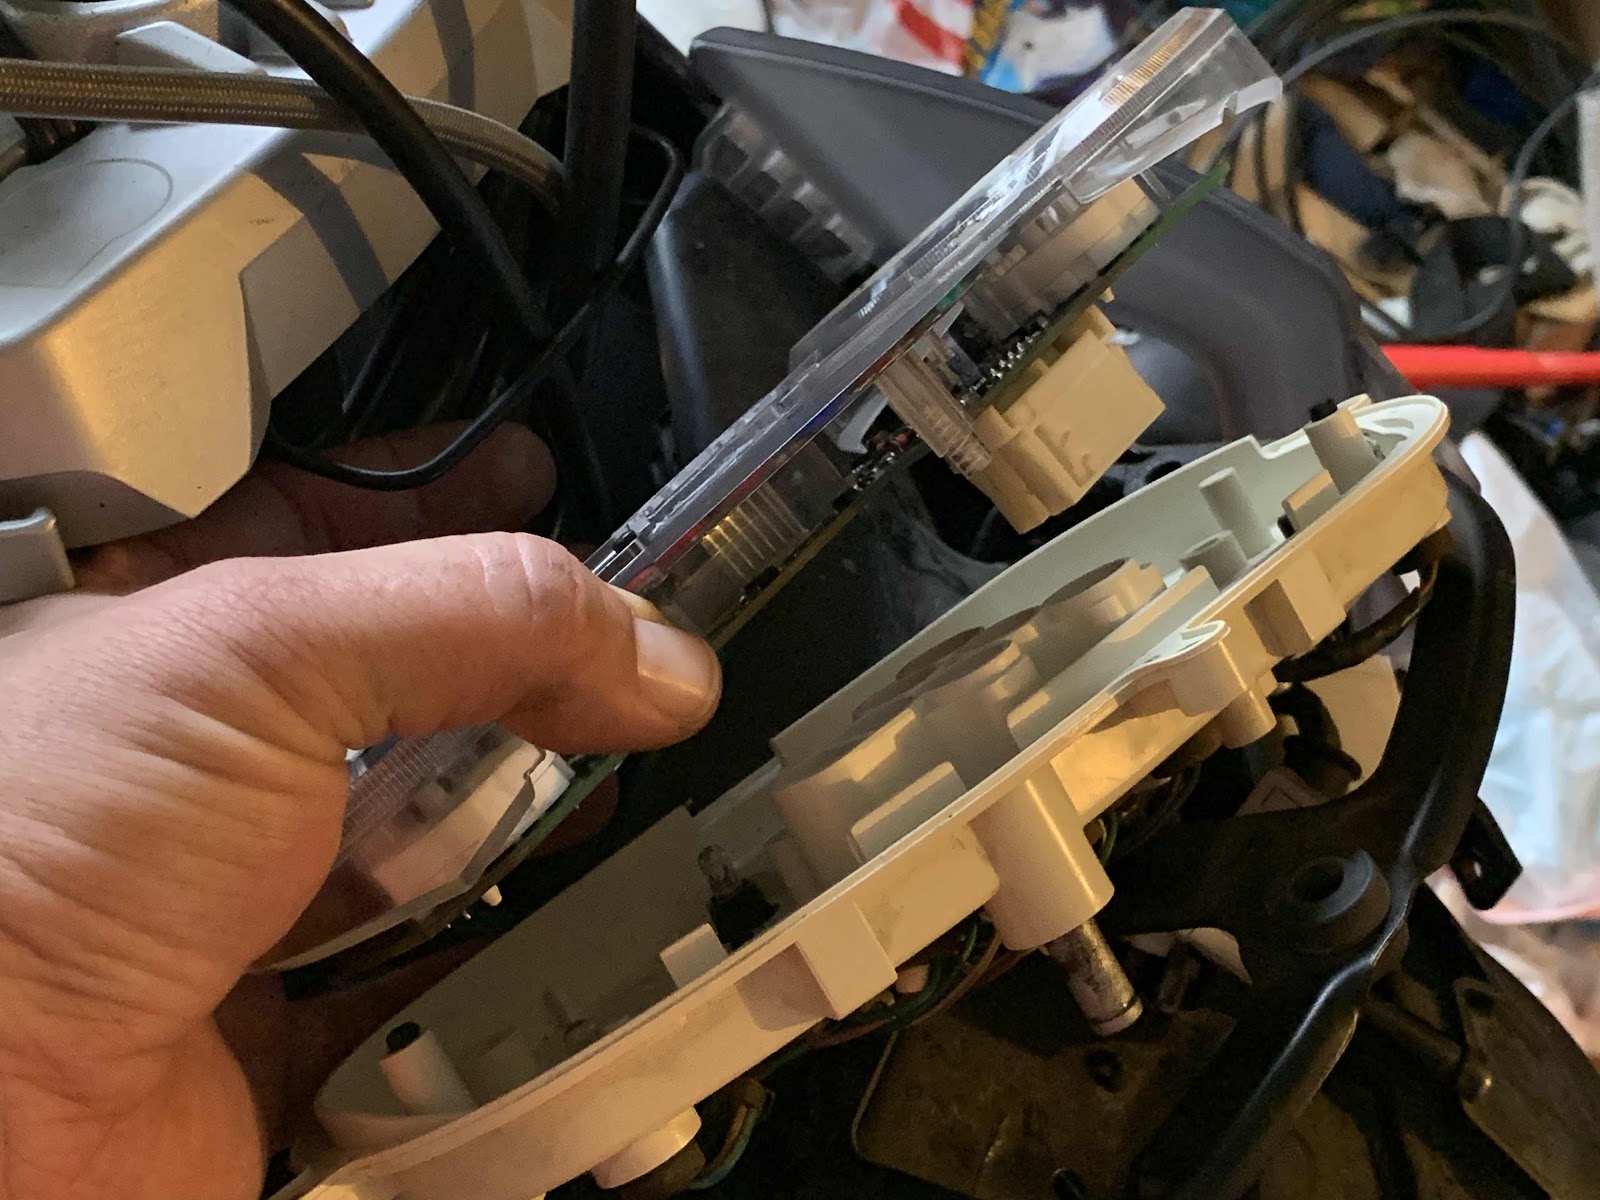
Finally, the faceplate for the speedo and tach needs to be taken off with a pair of really small Phillips screws: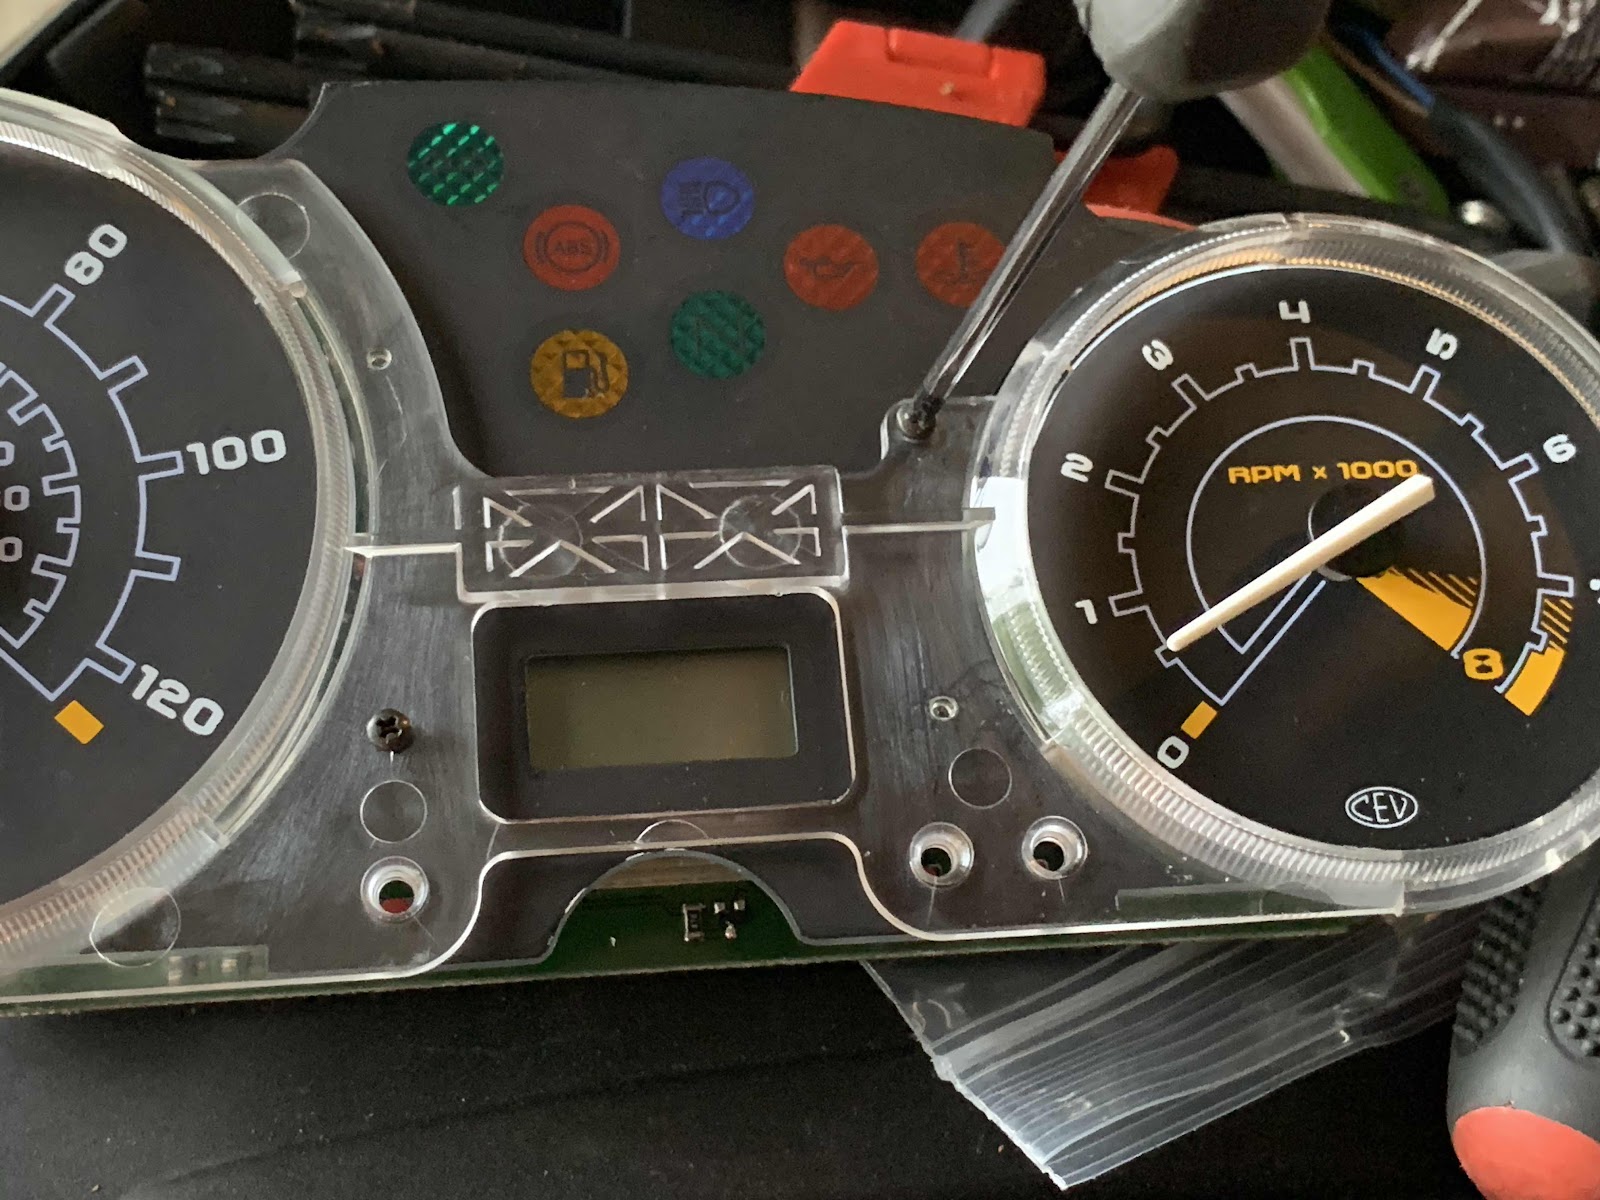
Step 5: swap out the new circuit board for the old one and back through all of the preceding steps in reverse to reassemble.
Background: my wife’s newly acquired 2003 F650CS had problems with the instrument cluster from the get-go. First the speedometer and the tach died, then the clock and the odometer. We tried cleaning contacts and the like, but the only likely diagnosis was that some component in the PCB (printed circuit board) that controlled those items was fried. Given the poor weather sealing around the board, it’s probably a miracle that it had lasted 17 years here in Texas heat and humidity.
So, without further ado…
Step 1: acquire a new PCB and instrument cluster.
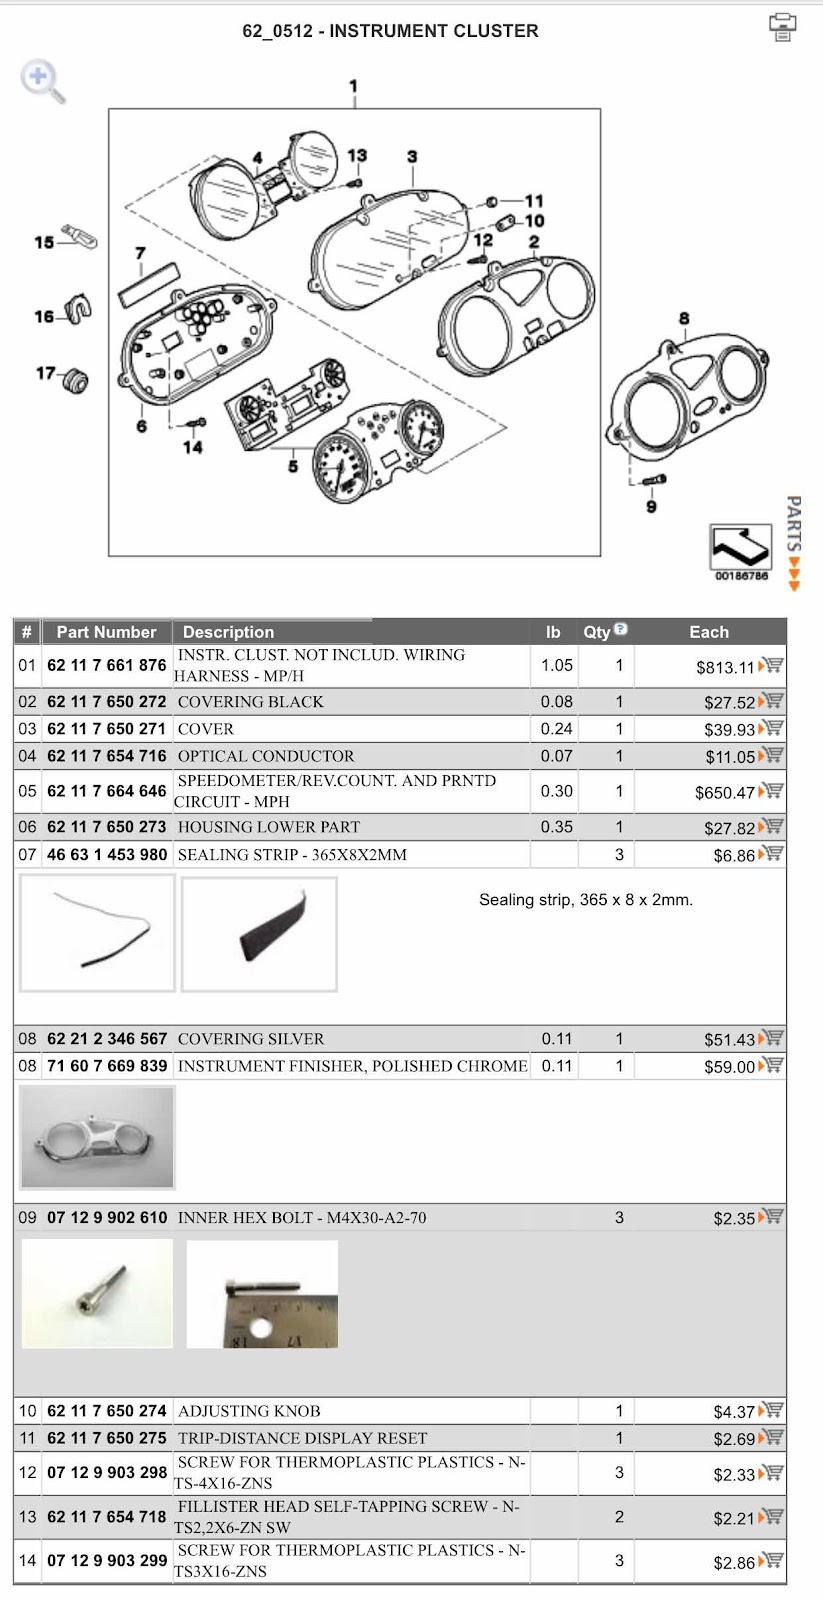
You want item 5 on the following diagram / list of parts:
Build in an appropriate amount of waiting time for this step. The item ships direct from Germany.
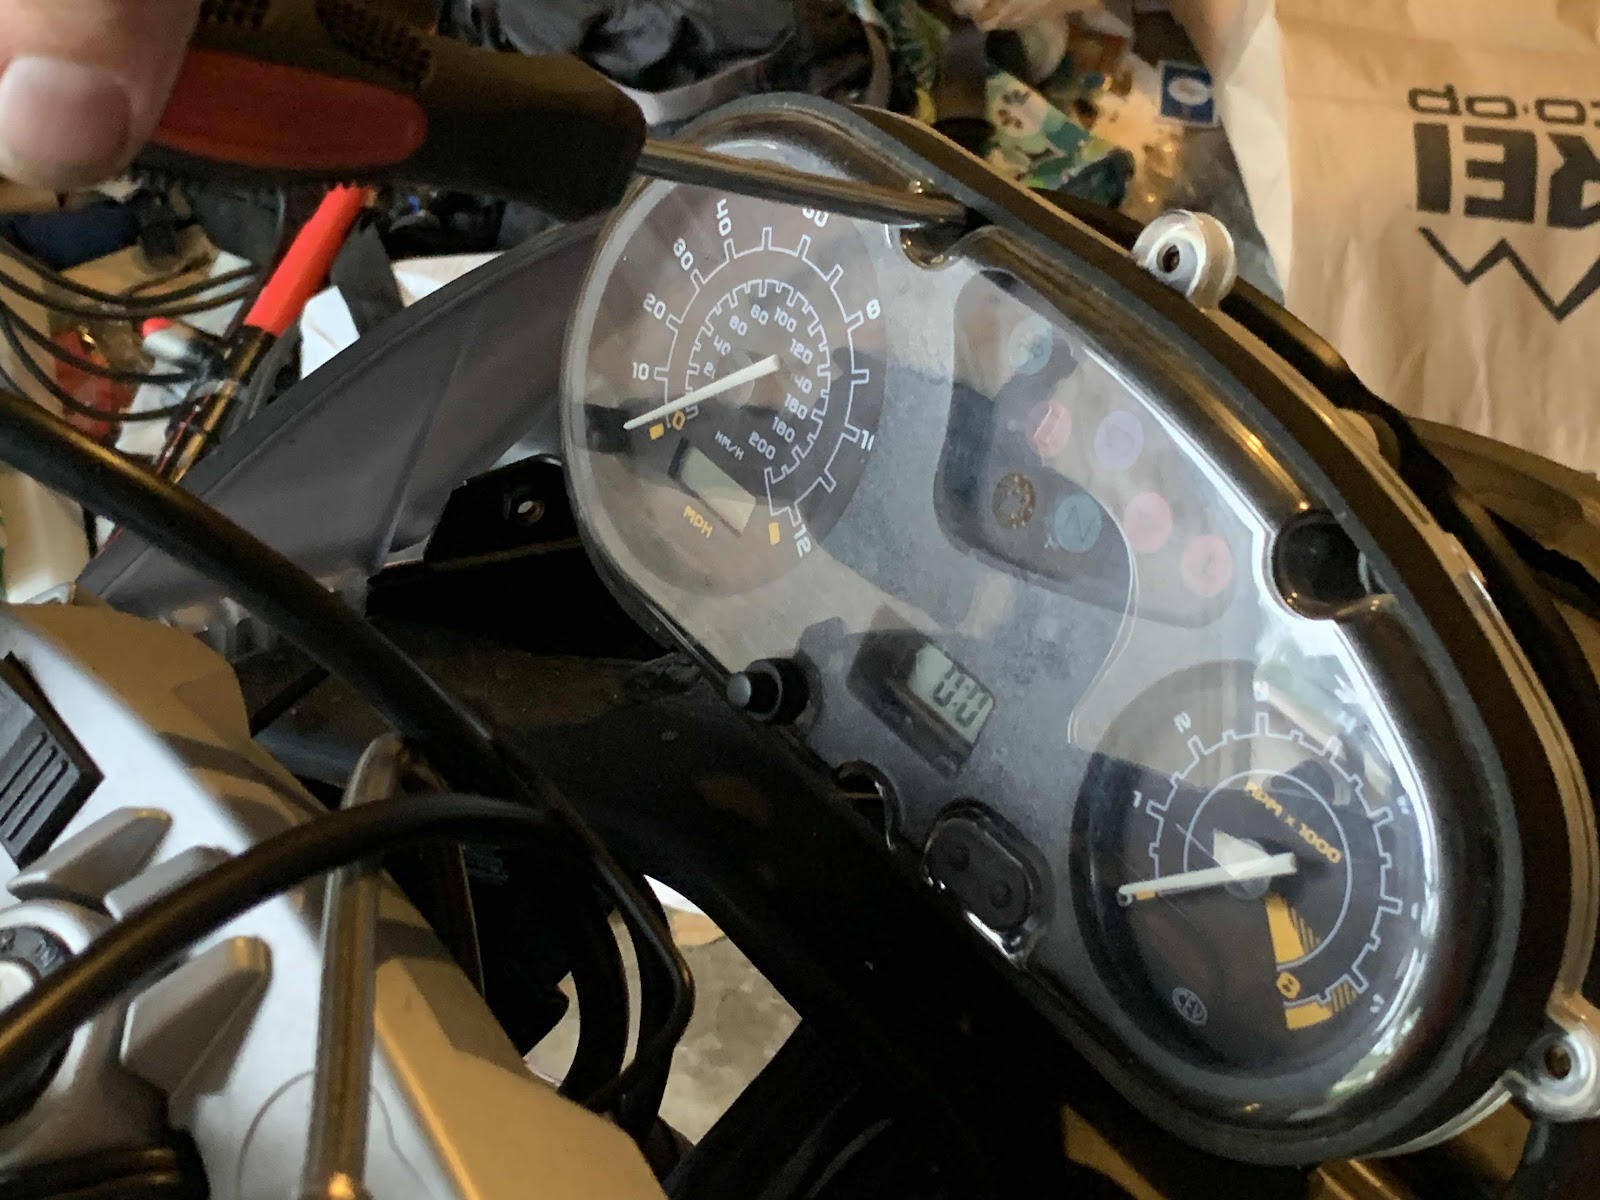
Step 2: take off the windshield and disassemble the instrument cluster housing using an assortment of Torx drivers and, yes, an actual Phillips screwdriver (what were you thinking, BMW?):
Four torx hold on the windscreen.
Two more same-sized torx hold on the instrument backing cover.
Three smaller torx screws hold on the instrument cover.
And then the clear fronting over the instrument panel is held on with three Phillips-head wood/plastic style screws.
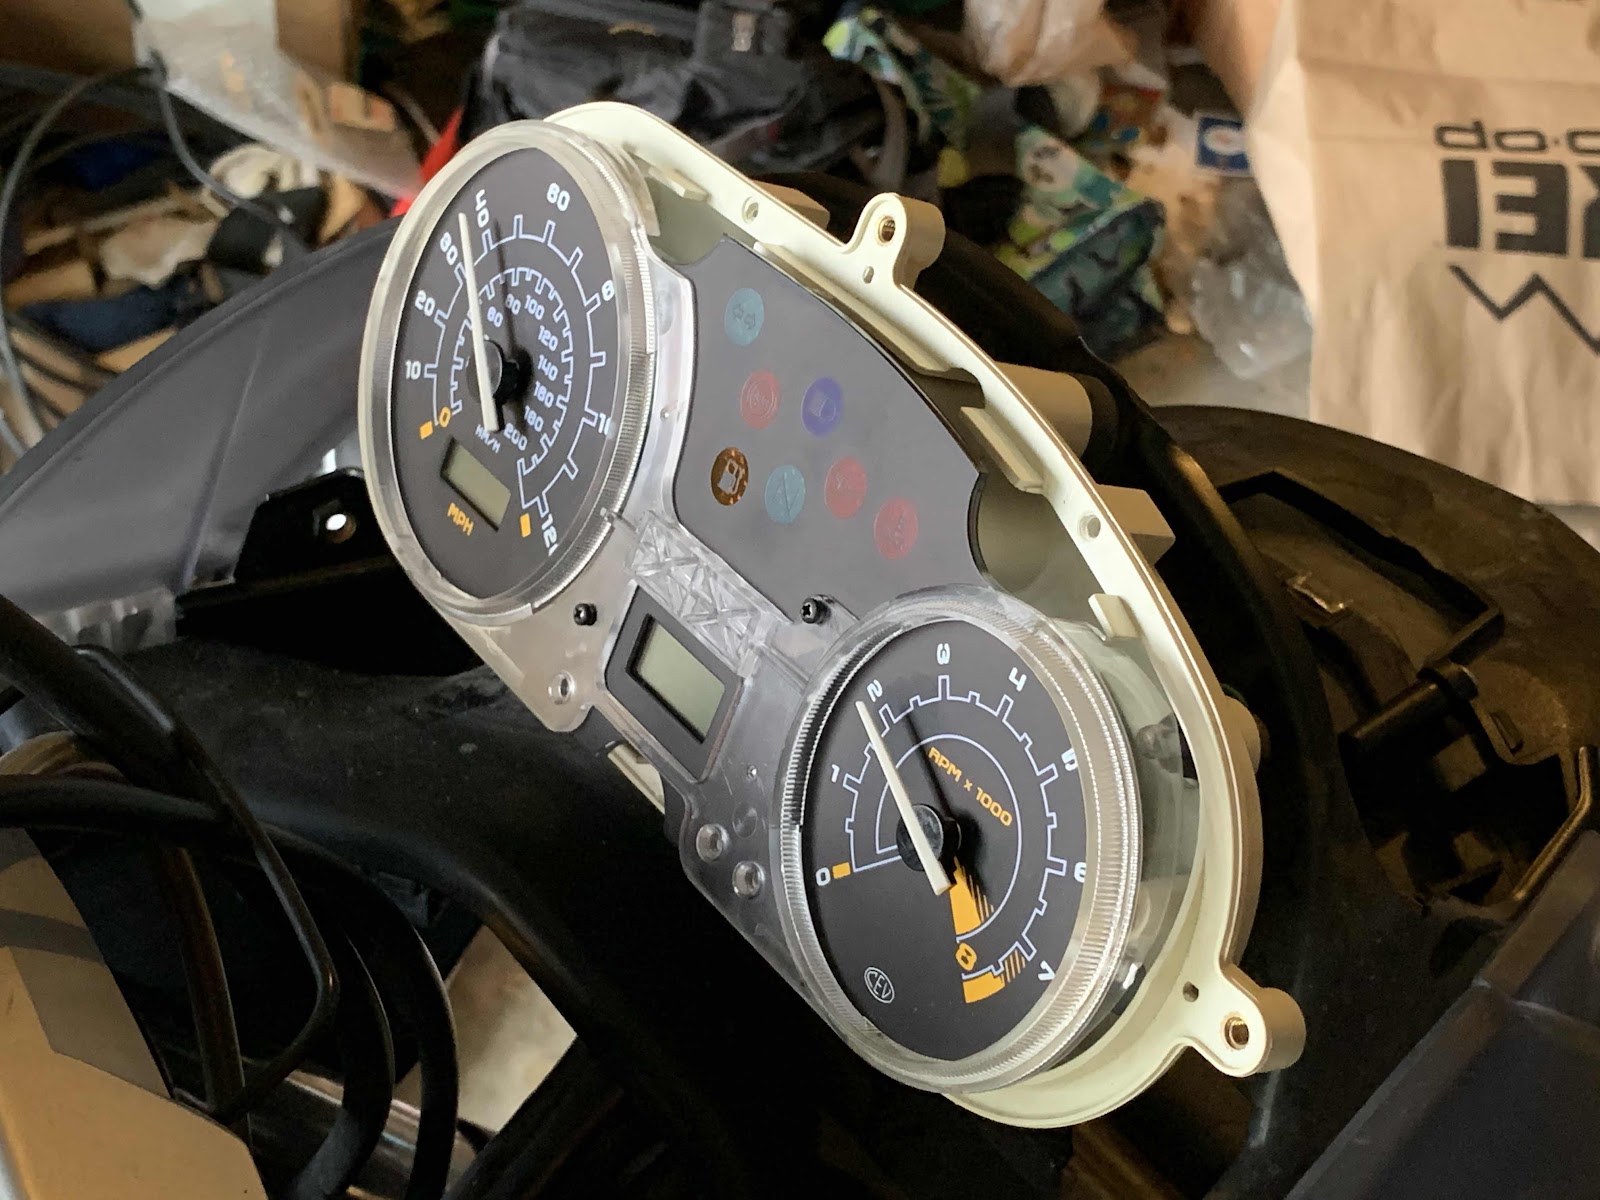
Lift off one more piece of black plastic and your instrument panel should look like this:
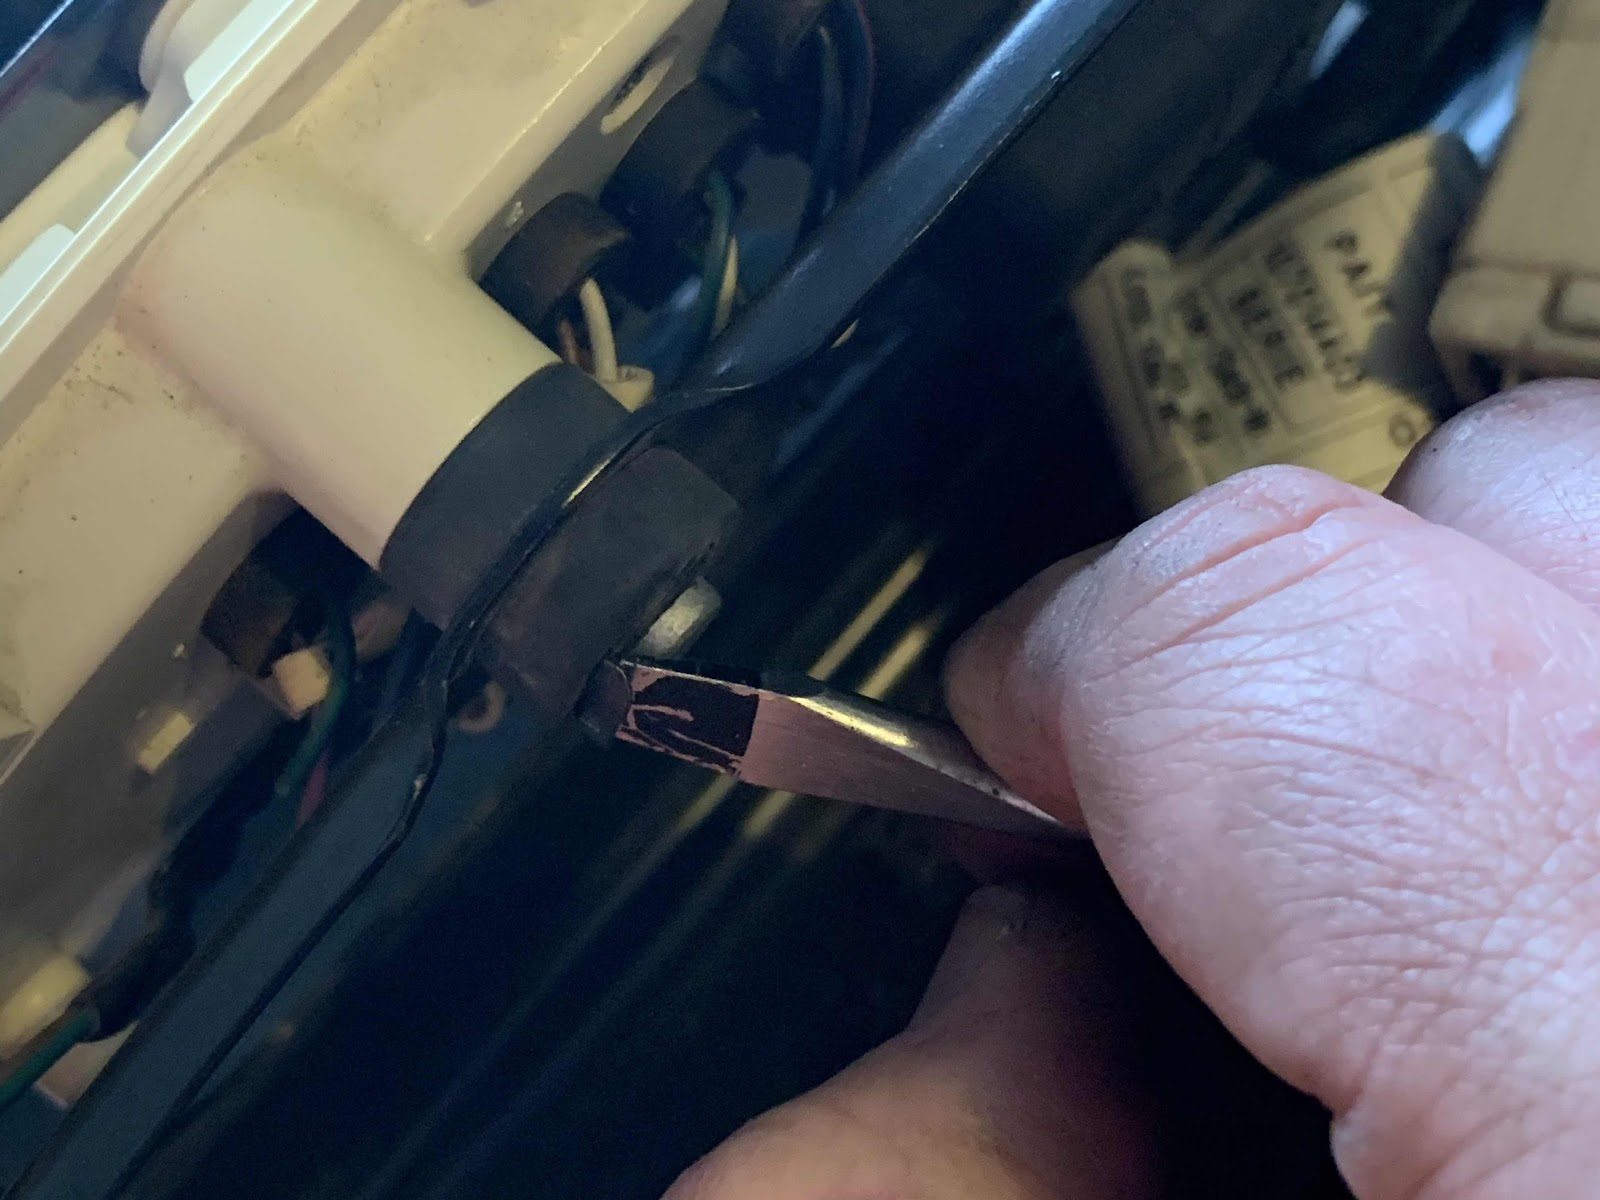
Step 3: un-clip and un-plug the instrument panel.
Three circlips hold the instrument cluster in place and can be popped off with gentle action of a flathead screwdriver.
Behind the instrument panel is a rubber protector (to provide some amount of moisture protection to the circuit board, I suppose) that must be peeled off, so that…
the little gray retaining clip can be rotated toward the bike’s right side, and then…
The instrument driver-connector can be unplugged.
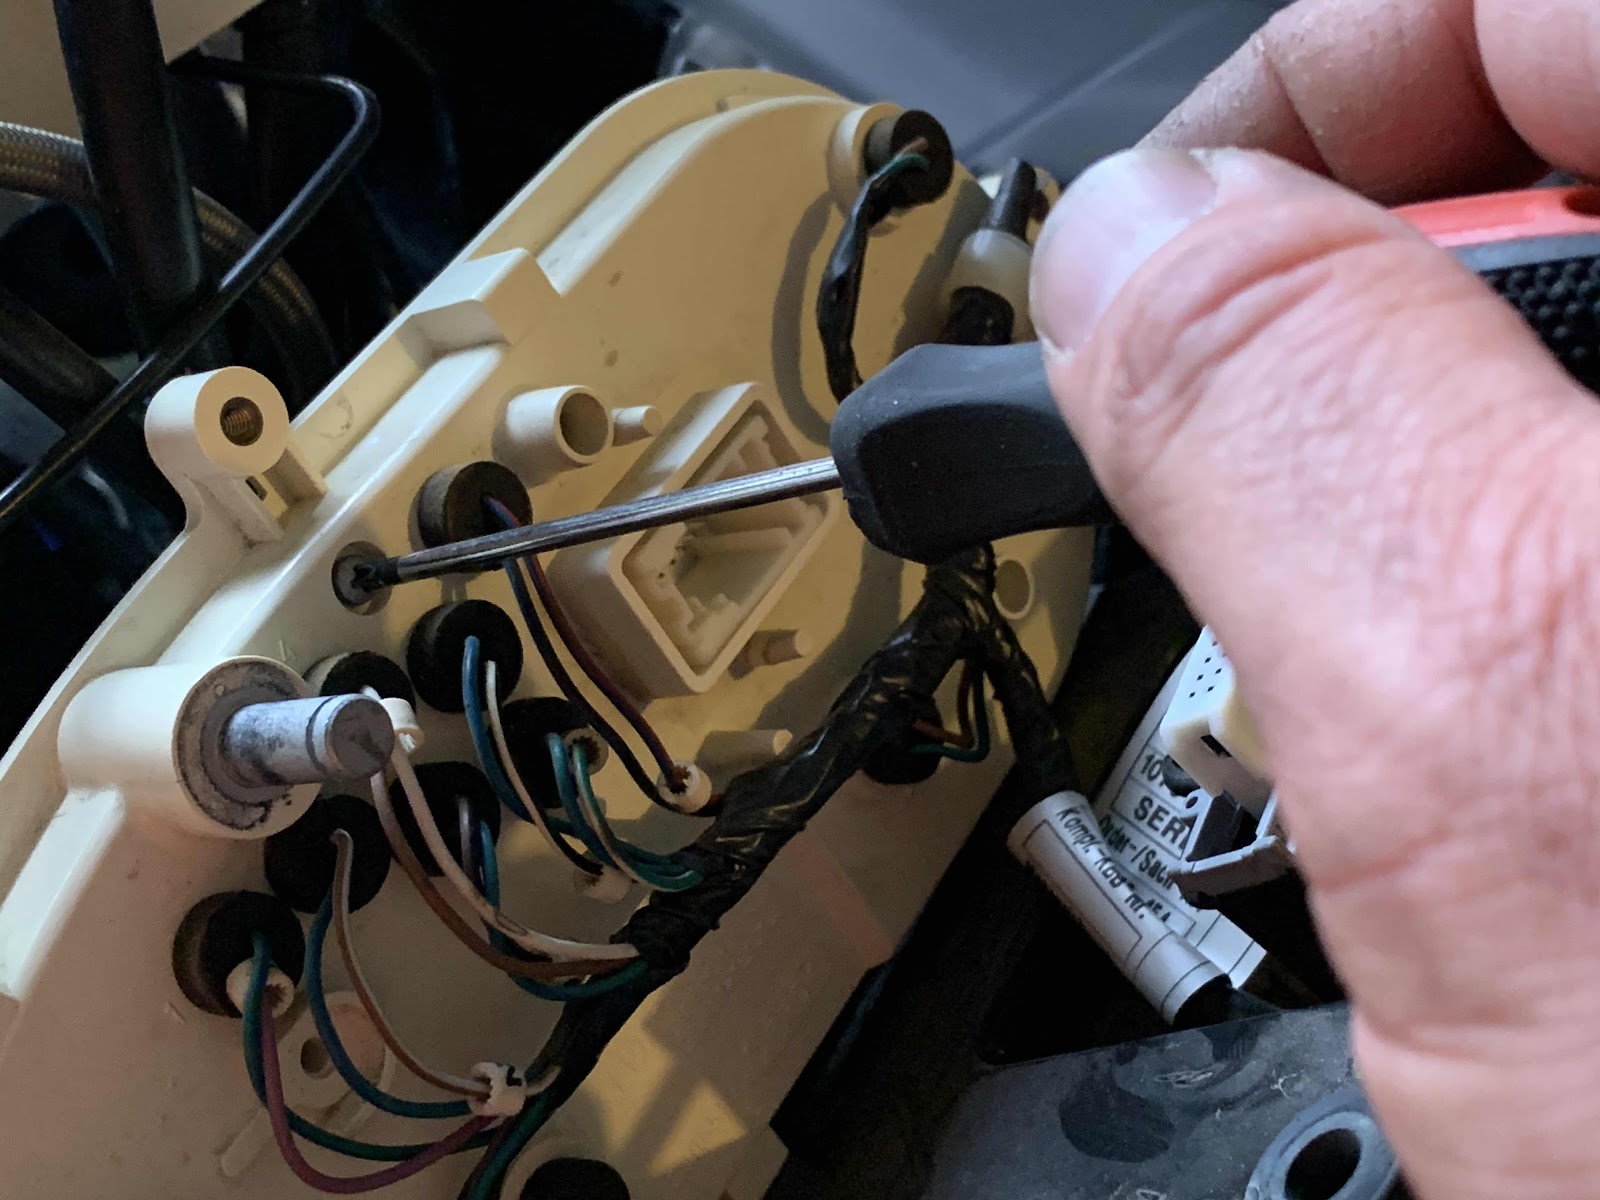
Step 4: disassemble the cluster.
There are three small-sized Phillips-head screws that need to be taken off. Note that one of them is right next to a slightly-larger Phillips-head screw that does not need to come off:
Then the electrical socket needs to be popped out with a flathead screwdriver to (gently) disconnect the retaining tabs:
Finally, the faceplate for the speedo and tach needs to be taken off with a pair of really small Phillips screws:
Step 5: swap out the new circuit board for the old one and back through all of the preceding steps in reverse to reassemble.


Comments
Post a Comment